DIY Hanging Flower Installations That Transform Walls, Trees and Fences
Creating vertical flower displays opens up endless possibilities for transforming bland outdoor surfaces into living art pieces. These installations maximize growing space while adding dramatic visual impact to any landscape.
Understanding Vertical Garden Fundamentals

Vertical gardening represents a strategic approach to maximizing limited space while creating stunning visual focal points. The concept centers on establishing growing systems that extend upward rather than outward, utilizing walls, fences, and tree structures as foundational supports.
Key Structural Elements
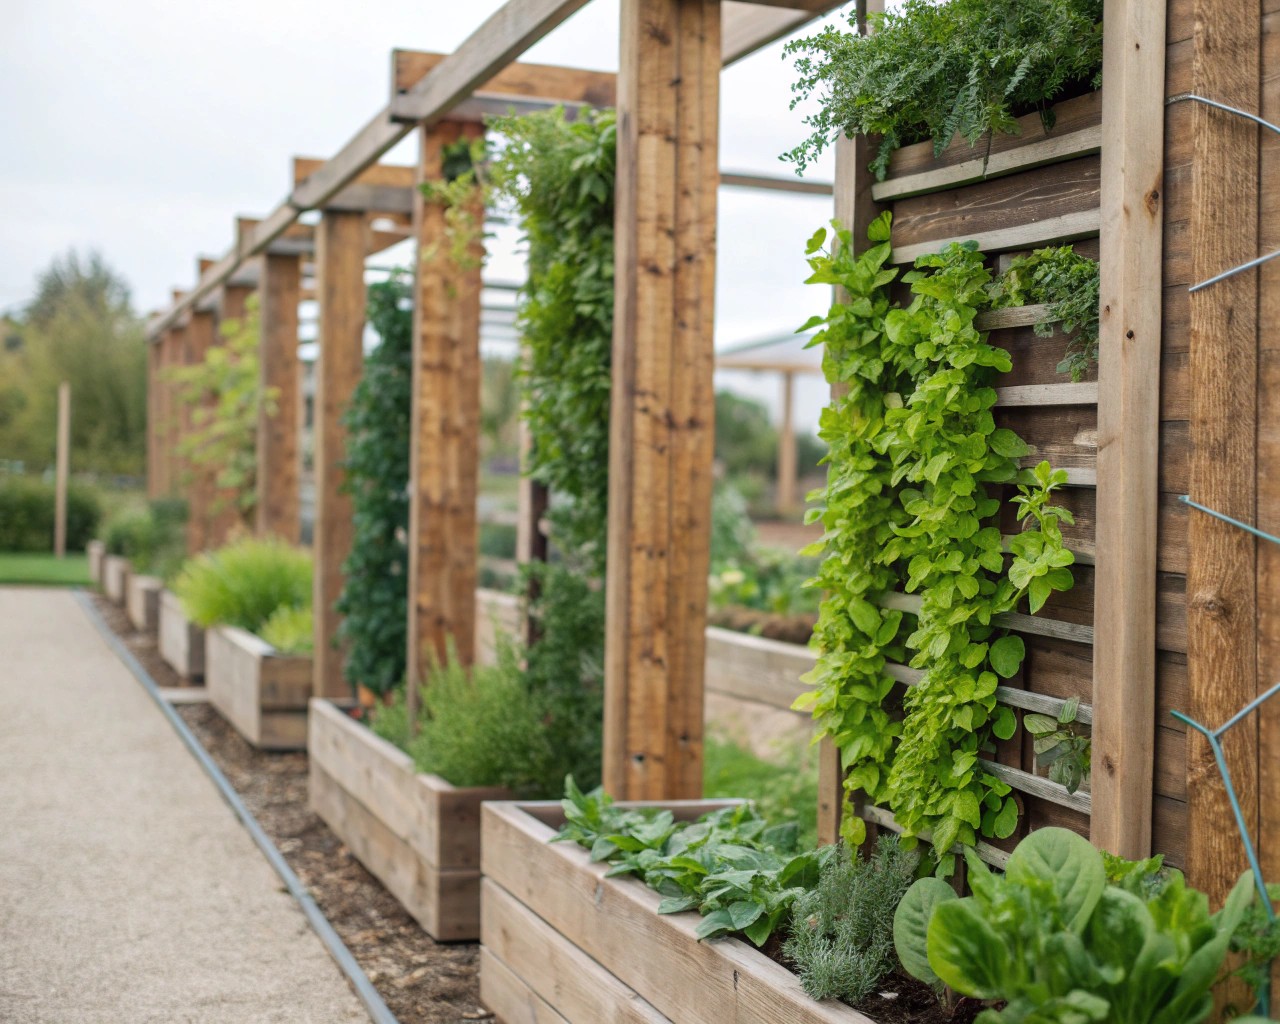
The foundation of any successful hanging installation relies on three critical components: proper mounting systems, adequate drainage, and plant selection suited to vertical growing conditions. Most installations require a grid framework—often constructed from chicken wire, wooden lattice, or metal mesh—that provides both structural support and planting pockets.
Weight Distribution Considerations
I’ve learned that weight becomes exponentially important as installations grow larger. A 4×8-foot living wall can weigh several hundred pounds when fully saturated with water, requiring robust mounting systems anchored into wall studs or concrete. Calculate approximately 15-20 pounds per square foot for a fully planted and watered installation.
Wall-Mounted Installation Techniques
Creating the Framework
The most reliable method involves constructing a wooden frame using pressure-treated 2×4 lumber, creating a grid system that stands 6-8 inches away from the wall surface. This spacing allows for adequate air circulation, preventing moisture buildup that could damage both plants and wall surfaces.
Begin by marking stud locations along your chosen wall section. Install horizontal rails at 24-inch intervals, ensuring each mounting point hits a structural stud. Between these rails, create vertical dividers every 18-24 inches, forming rectangular sections that will house individual planting pockets.
Pocket Installation Systems
The pocket system offers the most versatile approach to wall installations. I prefer using heavy-duty landscape fabric or specialized felt planting pockets, which retain moisture while allowing proper drainage. Staple or zip-tie these pockets to your grid framework, creating individual growing chambers approximately 8-12 inches deep.
For a more permanent solution, construct wooden planter boxes using cedar or pressure-treated lumber. Size each box to fit within your grid sections, ensuring drainage holes every 6 inches along the bottom edge. Mount these boxes using heavy-duty brackets rated for at least twice the expected weight.
Step-by-Step Wall Installation
-
Site Preparation: Clear the wall area and mark mounting points using a stud finder. Ensure adequate clearance from gutters, windows, and electrical fixtures.
-
Frame Construction: Cut lumber to size and pre-drill all connection points. Assemble the frame on the ground first, checking for square measurements before mounting.
-
Wall Mounting: Install the frame using 4-inch structural screws into wall studs. Use a level to ensure the frame remains plumb during installation.
-
Pocket Attachment: Secure planting pockets to the frame, starting from the bottom row and working upward. Overlap pocket edges slightly to prevent soil spillage.
-
Irrigation Setup: Install a simple drip irrigation system along the top edge, with individual feed lines extending to each planting pocket.## Fence Transformation StrategiesUtilizing Existing Fence Structures
Most residential fencing provides adequate structural support for lightweight hanging installations. Chain-link fences work particularly well with hook-on planters and trailing vine systems, while solid privacy fences support heavier installations requiring direct mounting.
For chain-link applications, use S-hooks or specially designed fence hangers to attach lightweight containers. Space these containers strategically to create visual flow while maintaining structural balance. I recommend limiting individual container weight to 25-30 pounds to prevent fence sagging.
Trellis Integration Methods
Installing additional trellis systems over existing fencing dramatically expands planting opportunities. Bamboo poles, wooden lattice, or wire mesh create climbing surfaces for vining plants while adding textural interest. Secure trellis materials using heavy-duty zip ties or mounting brackets, ensuring connections remain flexible enough to accommodate fence movement.
Creating Living Privacy Screens

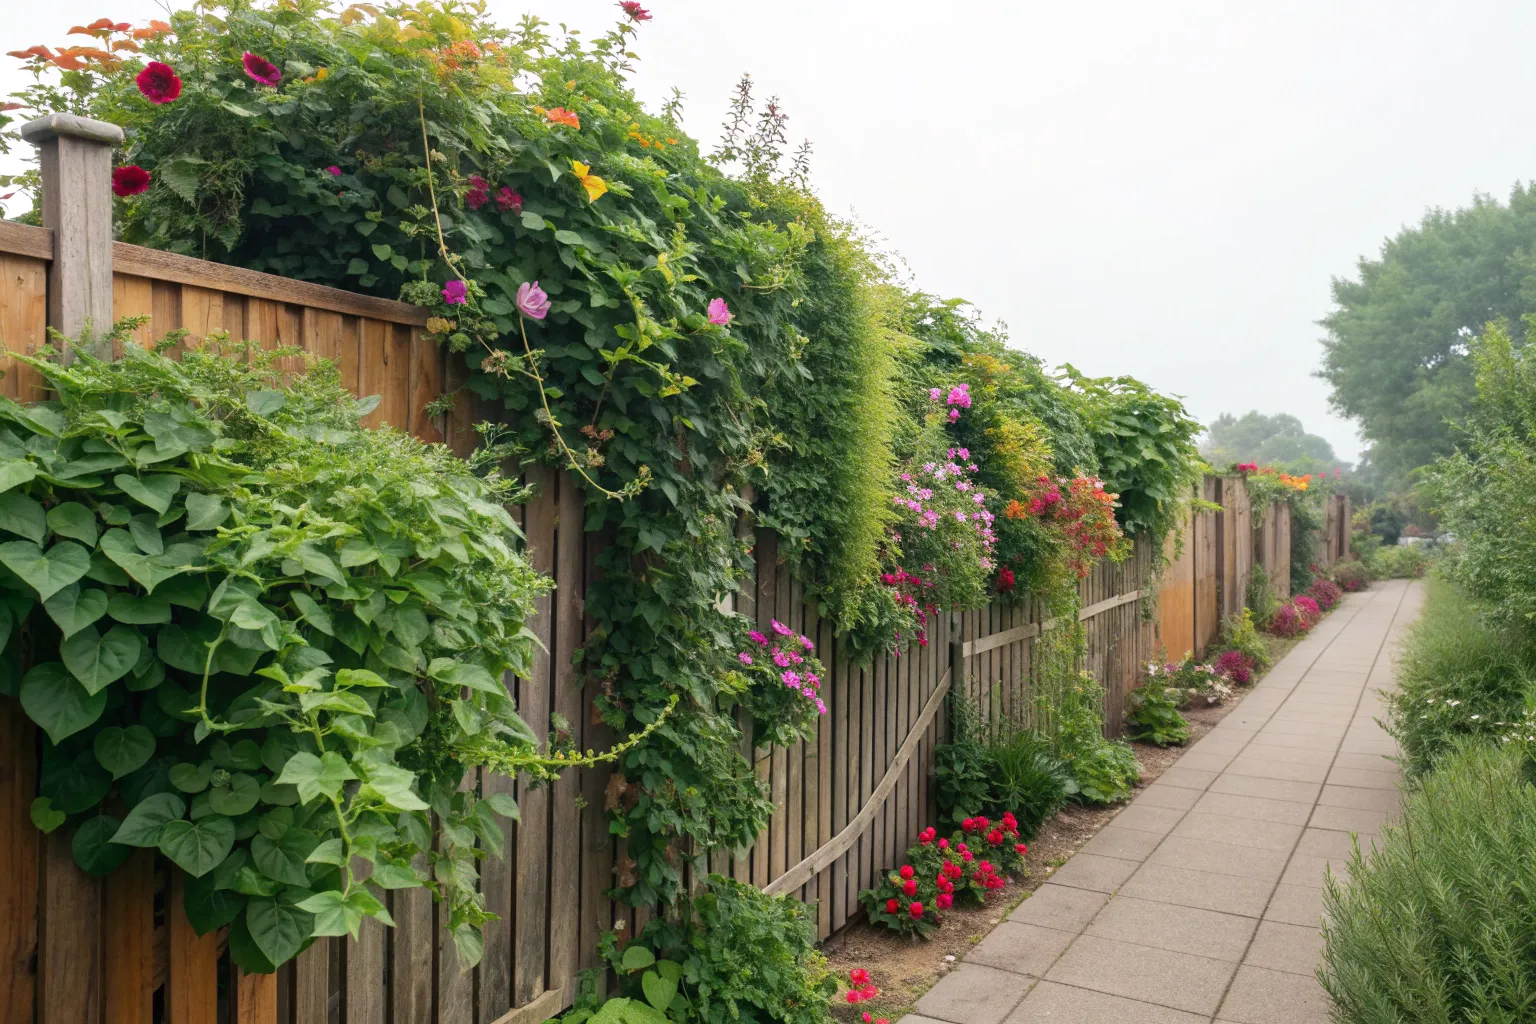
Transform standard fencing into living privacy barriers by establishing layers of plantings at varying heights. Install a series of planter boxes at ground level, mid-level hanging containers, and overhead trailing systems. This layered approach creates dense coverage while maintaining design sophistication.
Position taller plants toward the back, medium-height specimens in the middle section, and trailing varieties at the front edges. This arrangement ensures adequate light penetration while creating natural screening effects.
Tree-Based Installation Methods
Assessing Tree Suitability
Not every tree provides appropriate support for hanging installations. Mature deciduous trees with branches at least 4 inches in diameter offer the best foundation. Avoid newly planted trees, fruit trees during growing season, and species with brittle wood like silver maple or Bradford pear.
Examine branch structure for signs of disease, dead wood, or stress fractures before installing any hanging systems. Healthy branches should show no obvious defects and demonstrate strong attachment points to the main trunk.
Hanging Hardware Selection
Professional arborists recommend using broad straps or cable systems rather than chains or ropes that can girdle branches. Tree-friendly hanging systems distribute weight across larger surface areas, minimizing bark damage and allowing for natural branch growth.
Install eye bolts only in branches exceeding 6 inches in diameter, using appropriate wood screws that penetrate at least 3 inches into solid wood. For temporary installations, consider adjustable strap systems that can accommodate seasonal branch movement.
Seasonal Considerations
Plan tree installations around seasonal growth patterns and maintenance schedules. Spring installations allow plants to establish before summer stress periods, while fall plantings benefit from reduced watering requirements during dormant seasons.
Consider how leaf drop affects light levels reaching your installations. Deciduous trees create dramatically different growing conditions between summer and winter months, requiring plant selections that adapt to changing light conditions.
Plant Selection for Success
Understanding Microclimate Conditions
Vertical installations create unique growing environments that differ significantly from ground-level conditions. Upper sections experience greater wind exposure and faster soil drying, while lower areas may receive less direct sunlight but benefit from improved moisture retention.
Recommended Plant Categories
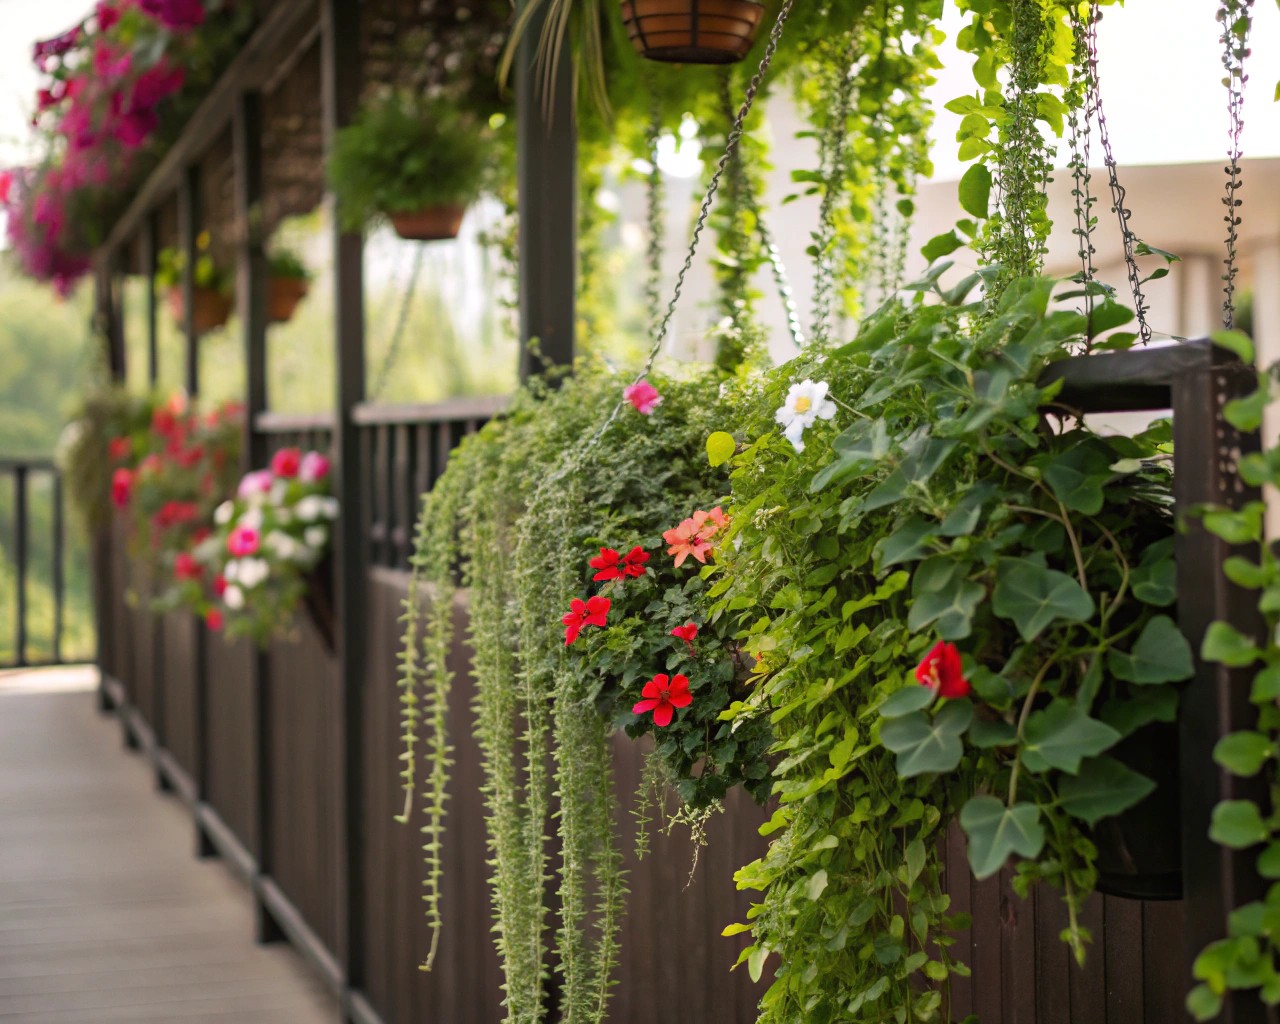
Trailing Varieties: Bacopa, trailing petunias, sweet potato vine, and ivy geraniums excel in hanging applications. These species naturally cascade downward, creating flowing visual effects while requiring minimal structural support.
Structural Plants: Use compact shrubs like boxwood, dwarf conifers, or ornamental grasses to provide framework and year-round interest. These anchor plants establish visual structure around which seasonal displays can evolve.
Seasonal Color: Incorporate annual flowers for changeable color schemes. Impatiens work well in shadier installations, while marigolds and zinnias thrive in sunny exposures. Plan for succession planting to maintain continuous blooms throughout growing seasons.
Drought-Tolerant Options: Succulents, sedums, and Mediterranean herbs reduce maintenance requirements while providing interesting textural contrasts. These plants withstand the faster drying conditions common in vertical installations.
Construction Materials and ToolsEssential Hardware

| Component | Specifications | Quantity Guidelines |
|---|---|---|
| Pressure-treated 2x4s | 8-foot lengths | 1 per 4 linear feet |
| Landscape fabric | Commercial grade | 1.5x planned coverage area |
| Mounting screws | 4-inch structural grade | 2 per mounting point |
| Zip ties | UV-resistant, 8-inch | 50 per installation |
| Irrigation tubing | ¼-inch drip line | 2x installation perimeter |
Specialized Tools Required
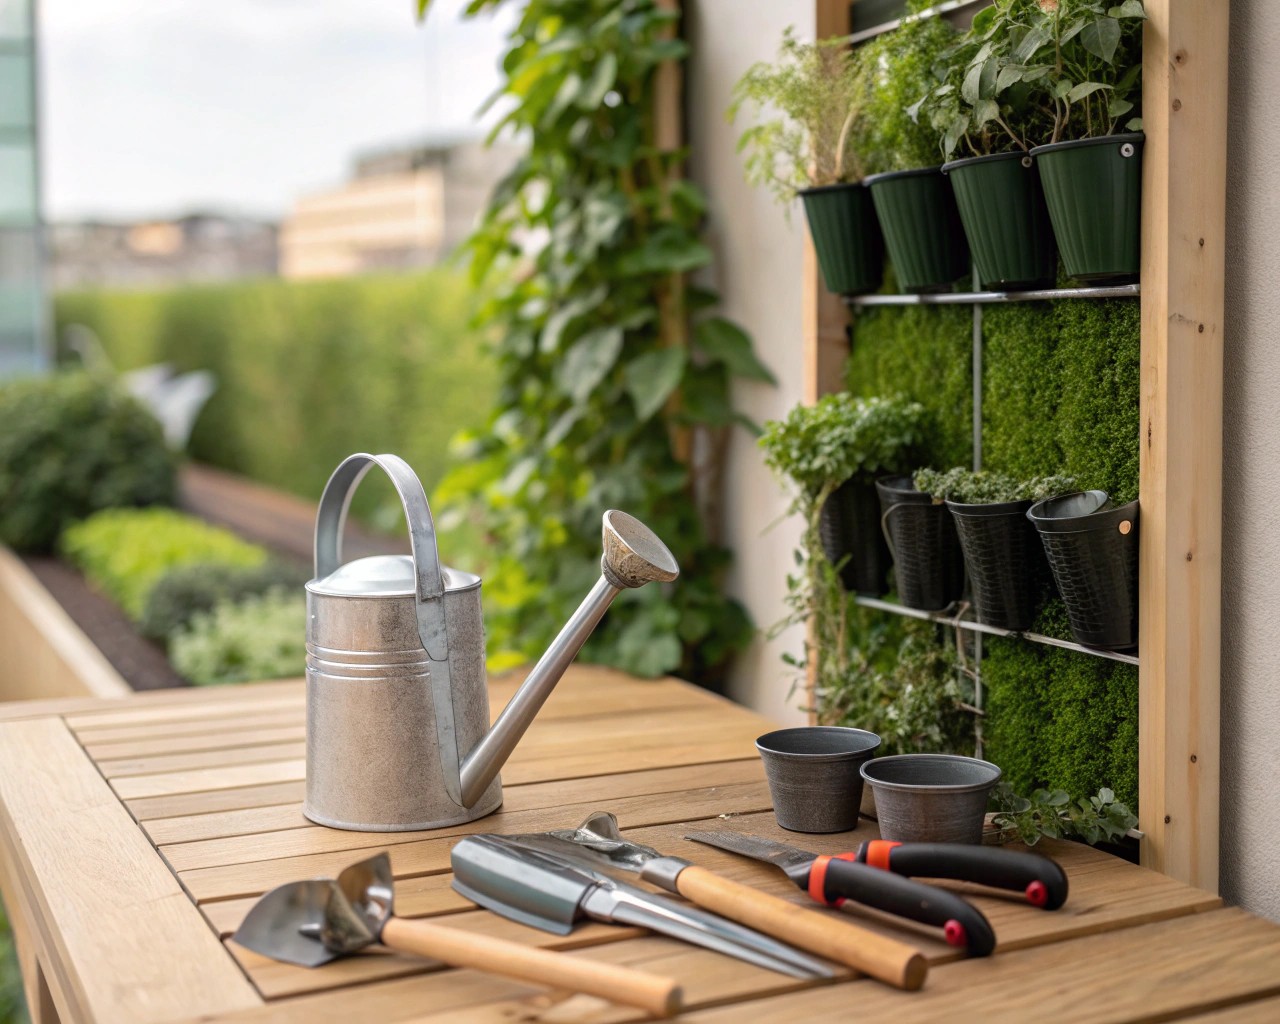
Professional-grade installations require specific tools beyond basic gardening equipment. A quality drill with bits suitable for both wood and masonry proves essential for most mounting applications. Invest in a reliable level, preferably 4-foot length, to ensure proper alignment during installation.
Wire cutters, heavy-duty scissors, and a staple gun streamline fabric and material installation. For larger projects, consider renting a pneumatic nail gun to accelerate frame construction.
Irrigation and Drainage Systems
Establishing Water Distribution
Successful vertical gardens require consistent moisture delivery without creating waterlogged conditions. Drip irrigation systems provide the most efficient solution, delivering precise amounts of water directly to plant root zones while minimizing waste and preventing overwatering.
Install main water lines along the top edge of your installation, branching into individual feed lines that terminate at each planting pocket. Use pressure-compensating emitters to ensure uniform water distribution regardless of elevation differences.
Drainage Management
Proper drainage prevents root rot and structural damage to mounting surfaces. Each planting pocket requires drainage holes spaced every 4-6 inches along the bottom edge. Install catch basins or decorative containers beneath installations to collect excess water, preventing staining of walls or paved surfaces.
For wall-mounted systems, ensure adequate spacing between the installation and wall surface to promote air circulation and prevent moisture accumulation that could damage building materials.
Maintenance Protocols
Seasonal Care Requirements
Vertical installations require more frequent maintenance than traditional ground-level gardens due to accelerated drying rates and confined root systems. During growing seasons, check soil moisture daily, particularly in upper sections that experience greater wind exposure.
Monthly Inspection Tasks
Examine mounting hardware for signs of loosening or corrosion. Tighten connections as needed and replace any damaged components immediately. Inspect irrigation lines for clogs or leaks, clearing debris from emitters and adjusting flow rates based on seasonal plant needs.
Prune overgrown plants to maintain desired shapes and prevent overcrowding that restricts air circulation. Remove spent blooms and dead foliage promptly to encourage continued flowering and prevent pest establishment.
Winter Protection Strategies
In cold climates, protect installations from freeze damage by selecting hardy plant varieties or implementing seasonal plant rotation systems. Disconnect and drain irrigation lines before freezing temperatures arrive, and consider wrapping exposed containers with insulating materials.
For permanent installations, choose plants rated for at least one hardiness zone colder than your local conditions to account for increased exposure in vertical positions.
Design Principles for Visual Impact
Creating Focal Points
Effective vertical installations incorporate design principles that guide the eye and create visual interest. Establish primary focal points using bold plants or striking containers, then build supporting elements around these anchor features.
Color Coordination Strategies
Develop cohesive color schemes that complement existing landscape elements and architectural features. Monochromatic schemes using varying shades of single colors create sophisticated, calming effects, while complementary color combinations generate dramatic contrast and energy.
Texture and Form Balance
Combine plants with contrasting textures and growth habits to create visual depth and interest. Pair broad-leafed species with fine-textured grasses, and balance upright forms with cascading varieties. This interplay prevents monotonous appearances while maintaining overall design coherence.
Seasonal Transition Planning
Design installations that maintain interest throughout multiple seasons by incorporating plants with varying bloom times, persistent foliage, and structural winter presence. Plan for seasonal plant rotations that refresh color schemes while maintaining core structural elements.
The key to successful hanging flower installations lies in thoughtful planning that addresses both technical requirements and aesthetic goals. By following proven construction methods and selecting appropriate plants for specific conditions, you can transform any vertical surface into a thriving garden display that enhances your outdoor living space throughout multiple growing seasons.

