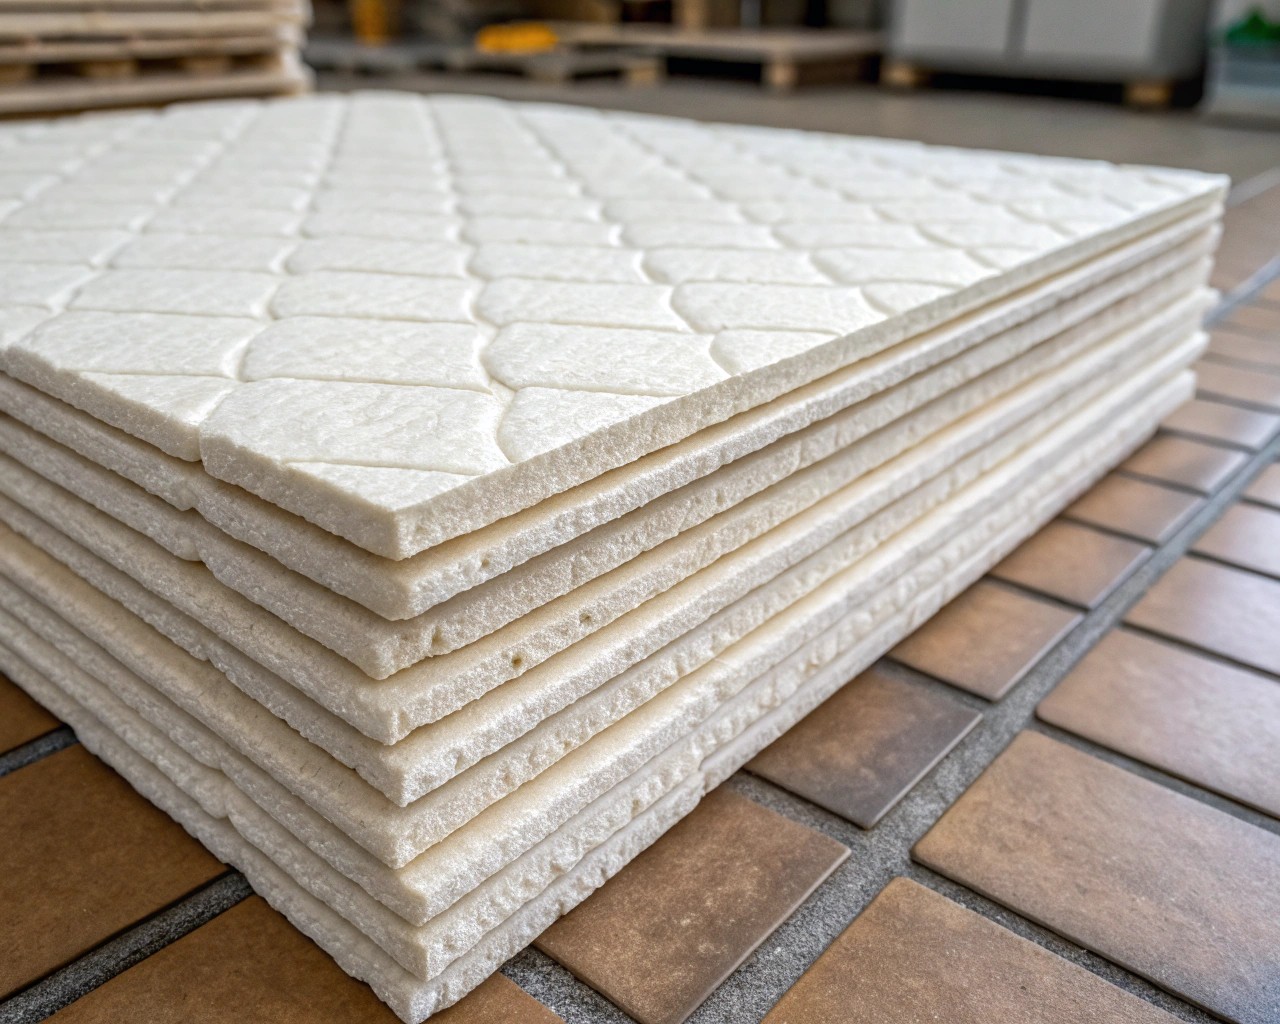
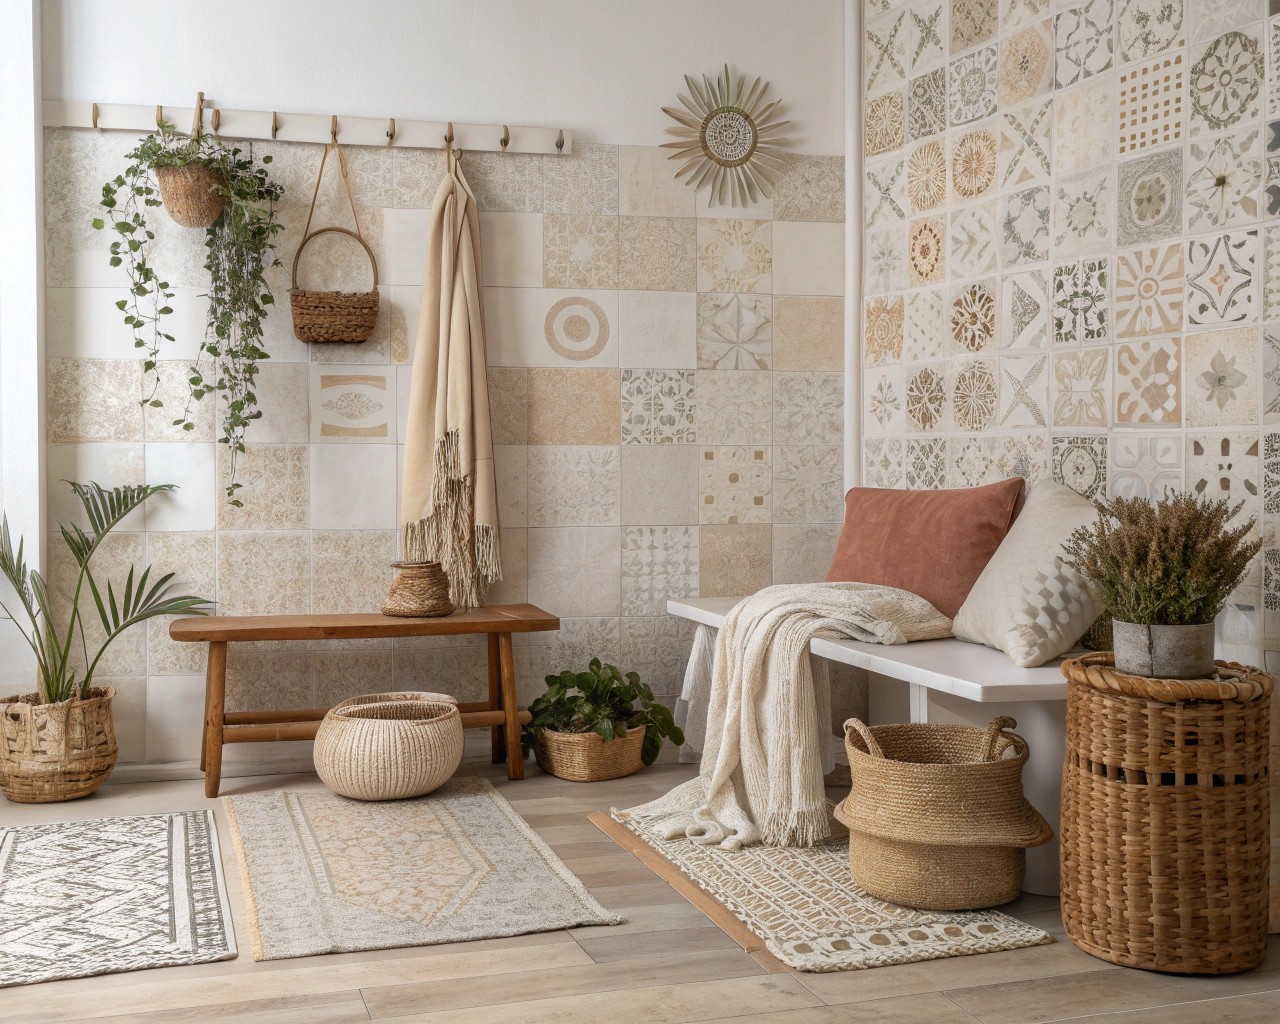
Sometimes the quickest way to refresh a space is with something unexpected and transformative. Soft paper tiles are lightweight, flexible, and removable accents that bring depth, texture, and color to walls—without long-term commitment or mess.
Why Soft Paper Tiles Work So Well

Unlike traditional paint or wallpaper, paper tiles add both tactile texture and visual depth with minimal fuss. Their soft, flexible material mimics the look and feel of more permanent cladding like ceramic, fabric, or embossed panels, but they weigh next to nothing and rely on gentle adhesive backing that sticks firmly yet peels away cleanly.
This balance between durability and removability means the installation is rental-friendly, ideal for staging homes, seasonal décor changes, or anyone who loves to refresh their surroundings often. They transform rooms quickly, with less mess and no sanding, patching, or repainting afterward.
I’ve seen these tiles become a favorite among those who want to experiment boldly, knowing they can easily adjust or start fresh. Their adaptability opens new doors for creative wall design, without the permanence of paint or wallpaper.
Key advantages:
- Removable: No sticky residue or wall damage.
- Reusable potential: With careful removal, some tiles survive multiple installations.
- Adjustable: Align patterns or reposition tiles effortlessly during installation.
- Sound absorption: Soft surface materials can help soften room acoustics.
- Lightweight: Safe for almost any interior wall, including drywall and smooth plaster.
Expanded Design Ideas That Inspire

The charm of soft paper tiles is how easily they adapt to numerous design styles. Because they peel off without damage, the only limit is imagination:
| Style Goal | Suggested Tile Design | Example Application |
|---|---|---|
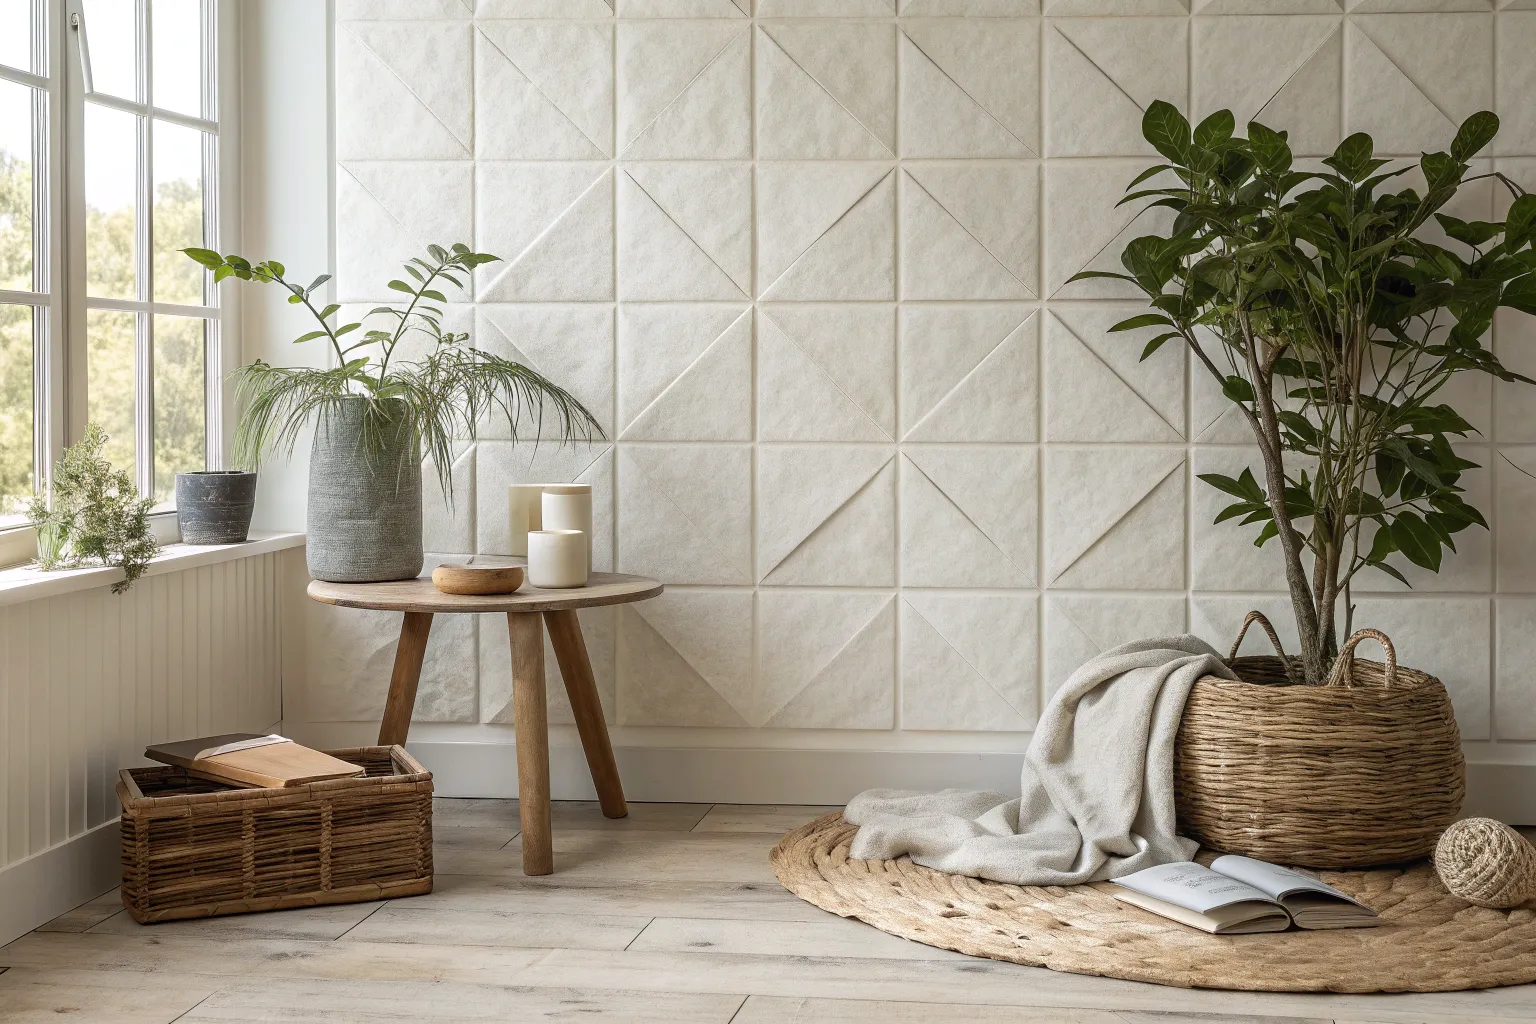
| Calm & Minimal | One or two matte colors with subtle texture | Behind bed or sofa as a subdued backdrop |
| Warm & Organic | Linen or suede-inspired textures in earth tones | Reading nook or dining area accent walls |
| Playful & Eclectic | Vibrant mixed patterns and colors | Kids’ room, creative studios, or entryway |
| Sophisticated Edge | Metallic foil or embossed geometric textures | Formal dining rooms, home libraries |
| Modern Industrial | Concrete or slate-look tiles with matt finish | Loft spaces or accent walls near fireplaces |
| Artistic Mural | Combine tiles to form abstract or pictorial designs | Feature wall in living spaces or hallways |
| Seasonal Flexibility | Mix and match removable tiles for holidays or events | Swap colors for seasons or celebrations |
Some users create partial walls with bottom or top borders, while others fill entire walls like a tapestry. Another popular method is overlapping tiles slightly for a layered, dimensional effect similar to scales or shingles—this softens edges and adds visual interest.
Functional and Practical Uses

Beyond aesthetics, soft paper tiles can serve practical purposes in your space:
- Wall-mounted Headboards: Install a block of fabric-like tiles behind a bed to simulate a cushioned headboard effect.
- Acoustic Improvement: Use textured tiles on noisy walls or rooms to help absorb sound softly, ideal for home offices or media rooms.
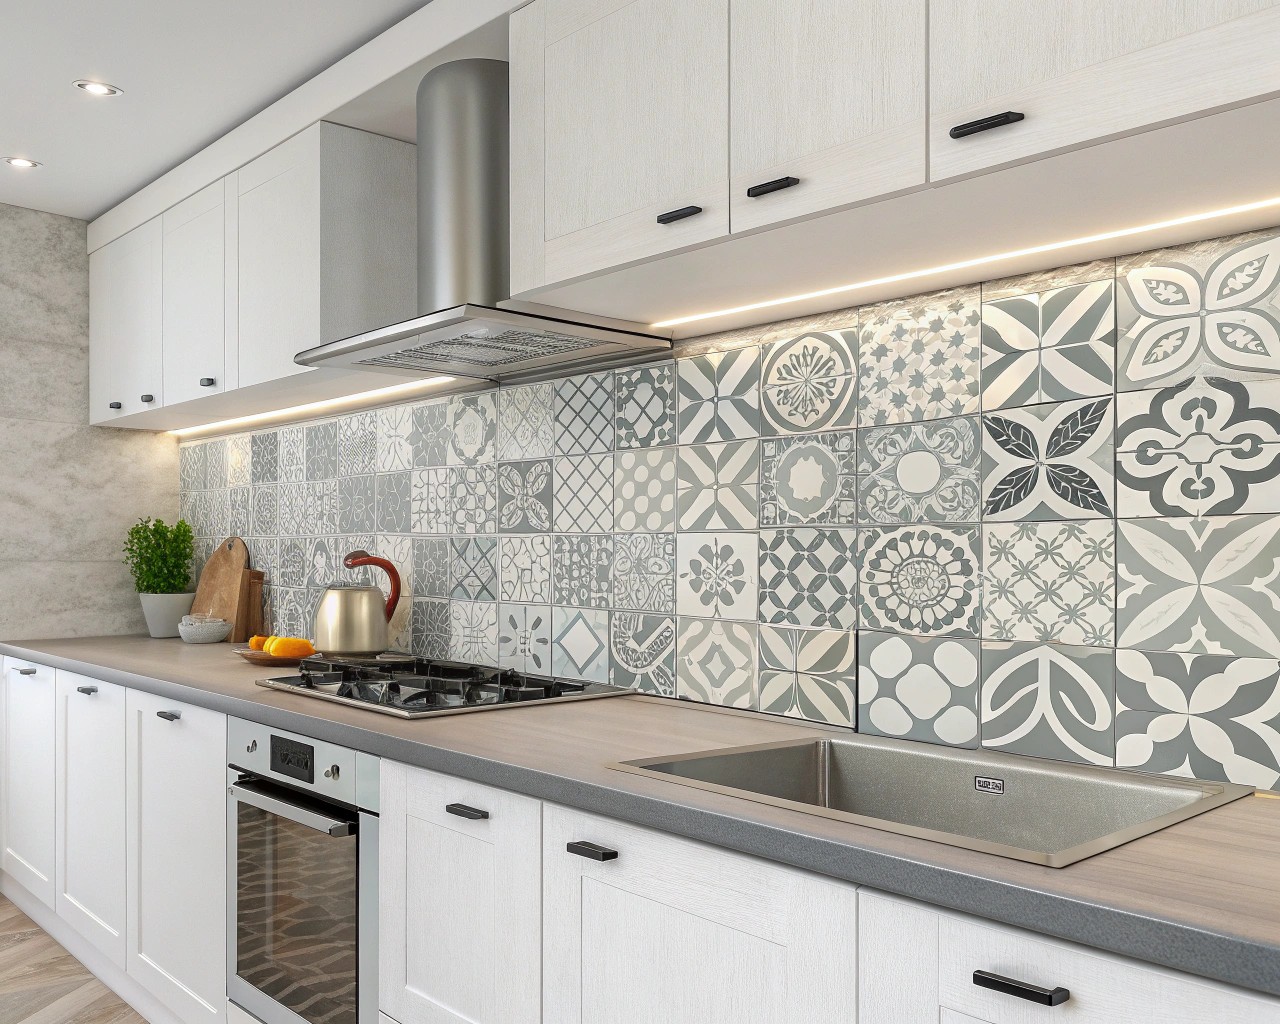
- Temporary Backsplash: In kitchens or laundry rooms, apply waterproofed or coated paper tiles for a trendy but non-permanent backsplash.
- Surface Hiding: Conceal minor wall imperfections, scratches, or stains without paint or spackling.
- Visual Zoning: Define areas in open floor plans by tiling partial walls, creating “zones” without bulky dividers.
Preparing for Installation
Successful tile adhesion depends heavily on proper wall preparation. Surfaces must be:
- Clean: Free from dust, grease, or loose paint.
- Smooth: Sand lightly or fill holes for the tile to lay flat.
- Dry: Moisture reduces adhesive strength significantly.
Preparation checklist:
1. Wipe down the wall with a damp microfiber cloth and let it dry completely.
2. Sand down any rough patches or high spots gently.
3. If the wall is freshly painted, wait at least 2 weeks for curing before applying tiles.
4. Using painter’s tape, mark reference lines or grids for even placement.
Step-By-Step: Installing Paper Tiles
-
Find Your Starting Point:
Mark a vertical centerline with a level to anchor your layout and keep tiles aligned perfectly. -
Peel Off Backing Partially:
Remove about half the backing paper from the first tile for easy placement. -
Apply & Align:
Press the exposed adhesive edge along the guide line; carefully smooth out the tile as you peel the rest of the backing. -
Smooth Out Air Bubbles:
Use a microfiber cloth or squeegee to press firmly from the center outward, pushing out trapped air. -
Cut Around Edges and Fixtures:
Measure precisely for edges, corners, outlets, and trim tiles neatly with a sharp craft knife and metal ruler. -
Continue Pattern:
Repeat the above steps, using the previous tile edges as guides for seamless, tight rows.
Tips for a Professional Finish
- Use a sharp utility knife for clean edge cuts.
- Work under even lighting to spot bubbles or misalignments early.
- For complex patterns, plan tile orientation beforehand to reduce waste.
- Keep extra tiles stored flat in a cool, dry place for future repairs or replacements.
Maintenance and Removal
Soft paper tiles hold up well in typical home conditions but aren’t suited for humid or steam-exposed areas unless sealed.
Maintenance best practices:
- Dust regularly with dry microfiber cloths or soft brushes.
- Avoid harsh chemical cleaners or abrasive materials.
- Spot clean with diluted mild soap solution, gently dabbed on.
Removing tiles:
- Start at one corner and peel slowly at a low angle (about 45°).
- If adhesive feels stubborn, gently warm the tile with a hairdryer to soften glue.
- After removal, clean the wall surface with mild soap and water if any residue remains.
Creative Expansion Ideas
- Layering for Dimension: Experiment with overlapping tiles for a subtle 3D effect; overlap by 10-20% for softness.
- Mixing Textures: Combine various tile finishes such as matte, embossed, or metallic within the same wall to create tactile richness.
- Color Gradient: Arrange tiles in an ombré pattern, from dark hues at the floor rising to lighter shades at the ceiling, adding height and flow.
- Frame Within a Frame: Use contrasting tiles to create a picture-frame effect around an empty wall area or window.
- Magnetic Add-Ons: Attach lightweight magnetic strips to tiles and walls to enable adding/removing accent pieces like photos or small décor.
- Stenciled Enhancements: After installation, lightly stencil patterns on selected tiles with removable paints for a semi-permanent layered design.
Summary
Soft paper tiles offer a transformative, damage-free approach for those seeking thrills of change without permanence. Their combination of texture, lightness, and removability suit varied spaces, styles, and needs. With clear prep, patient installation, and some imagination, walls become lively, adaptable canvases welcoming new moods and stories whenever inspiration strikes.

