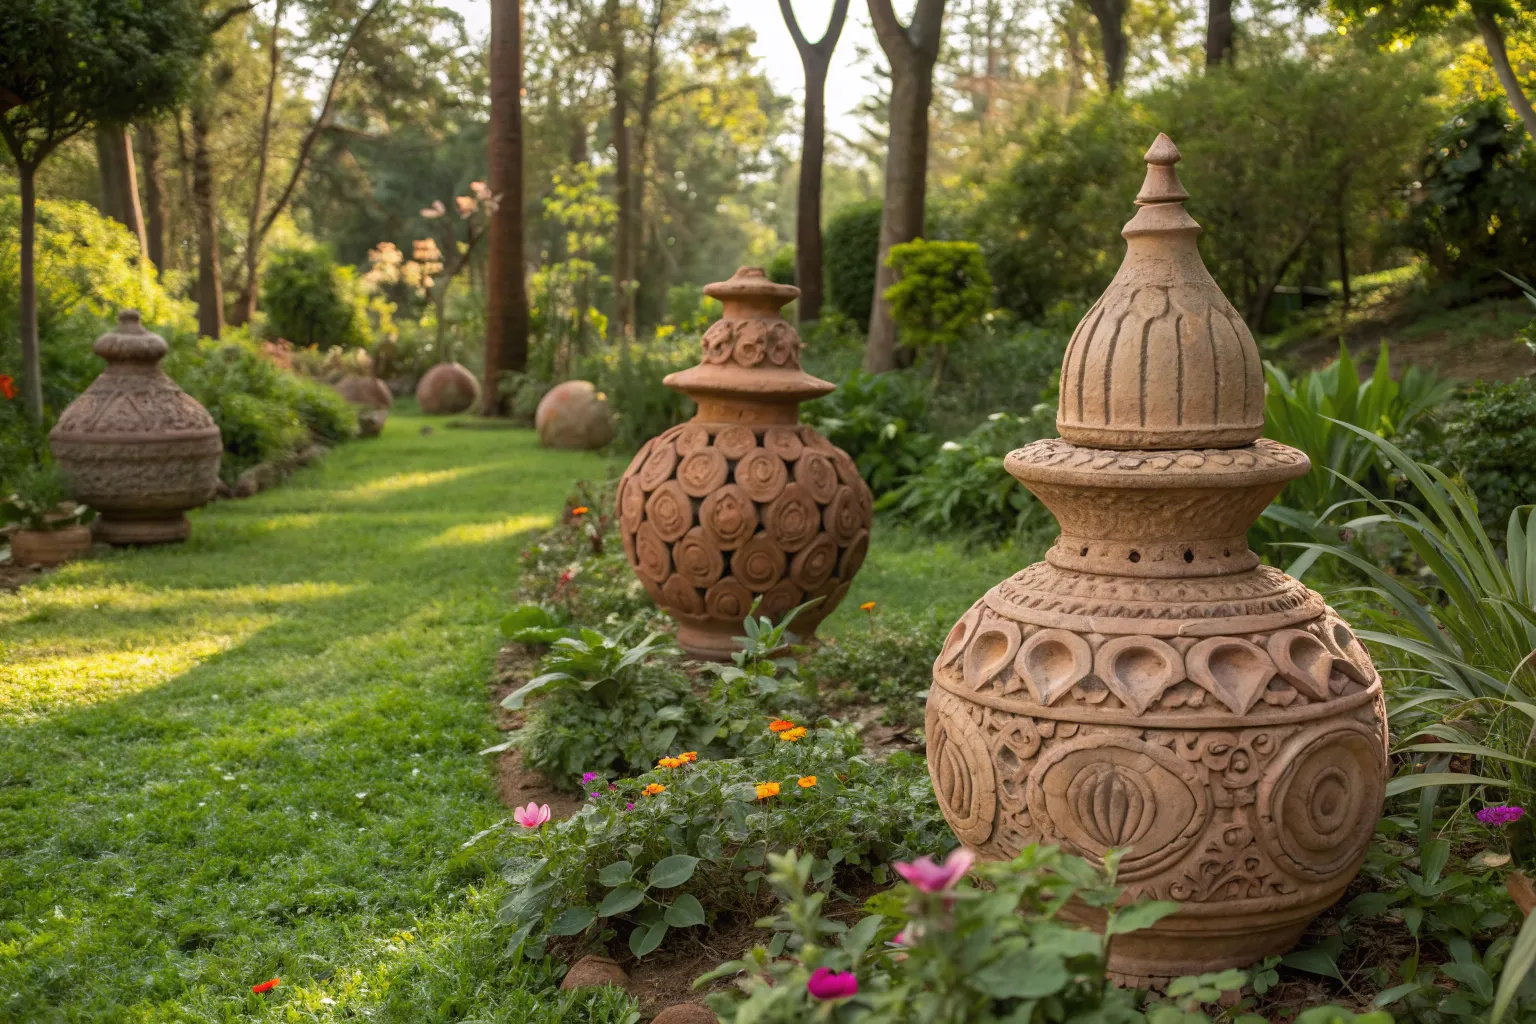
That Double as Tiny ArtCreating garden markers that serve both functional and artistic purposes transforms simple plant identification into an opportunity for personal expression. These handcrafted clay pieces combine practical garden organization with miniature sculptural elements that enhance your outdoor space year-round.
Understanding Your Clay Options
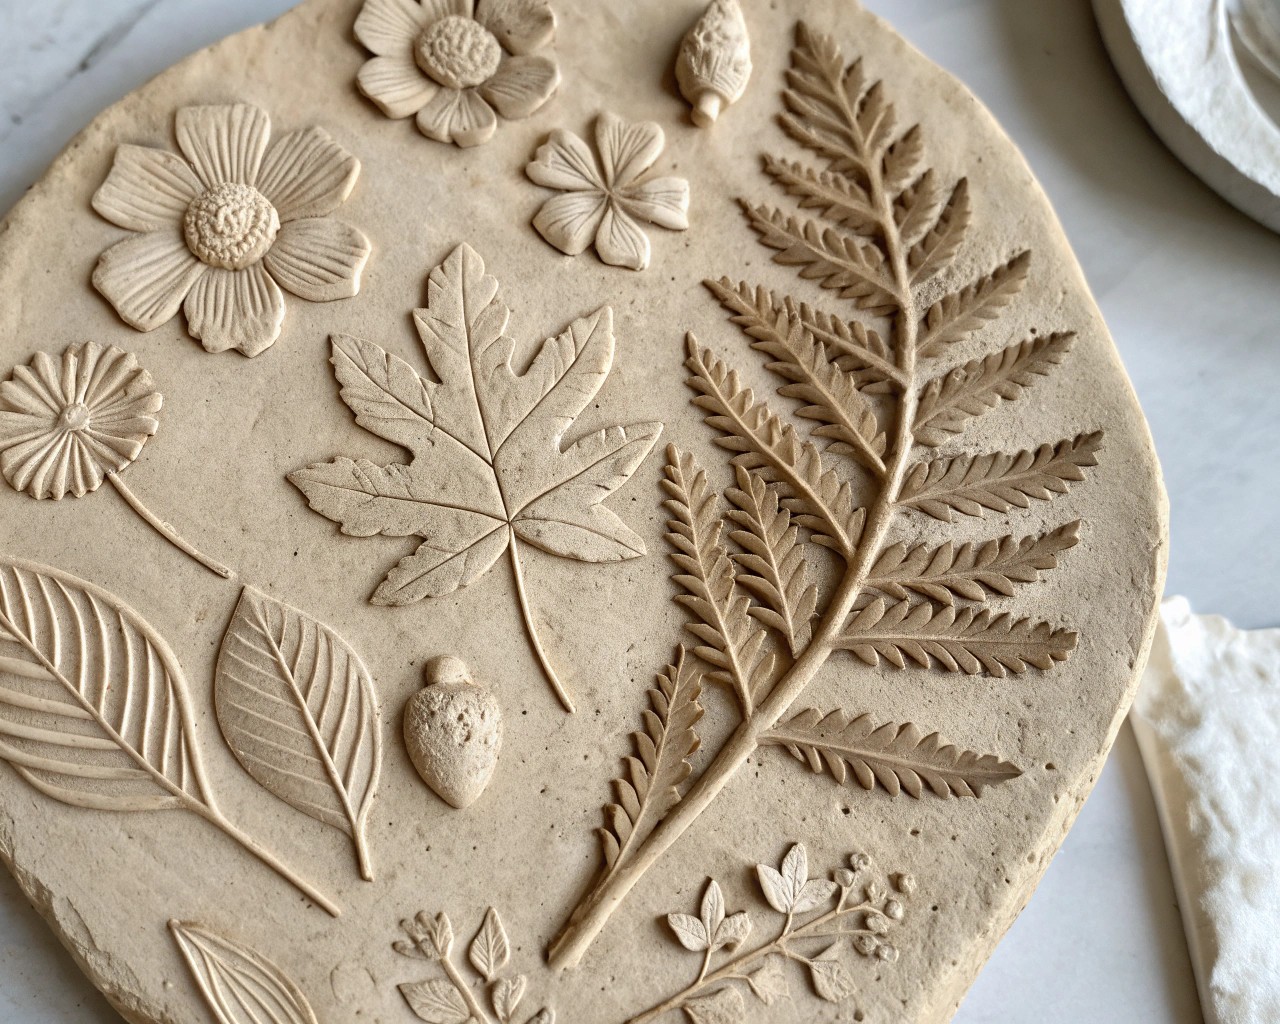
The foundation of successful garden markers begins with selecting the appropriate clay medium. Two primary options dominate the market, each offering distinct advantages for outdoor applications.
Polymer clay stands as the most durable choice for permanent outdoor installations. This synthetic material, composed primarily of polyvinyl chloride (PVC) and plasticizers, cures into a waterproof, weather-resistant finish when properly baked. Once fired at temperatures between 265°F and 275°F, polymer clay becomes essentially maintenance-free, requiring no additional sealing or protection. The material exhibits remarkable flexibility and strength, resisting brittleness in cold weather while maintaining structural integrity under intense summer sun. Color stability proves exceptional, with most pigments showing minimal fading even after years of UV exposure.
Air-dry clay offers immediate accessibility for beginners, requiring no specialized equipment or baking process. This natural clay-based medium hardens through moisture evaporation over 24-72 hours, depending on thickness and humidity levels. While inherently more porous than polymer alternatives, proper sealing transforms air-dry clay into weather-resistant markers suitable for garden use. The material accepts botanical impressions beautifully, making it ideal for creating detailed leaf and flower textures.
For long-term outdoor durability, I consistently recommend polymer clay despite its initial learning curve. The investment in proper baking techniques pays dividends through years of maintenance-free performance. However, air-dry clay excels in projects involving children or when immediate gratification motivates the creative process.
Design Inspiration and Artistic Elements
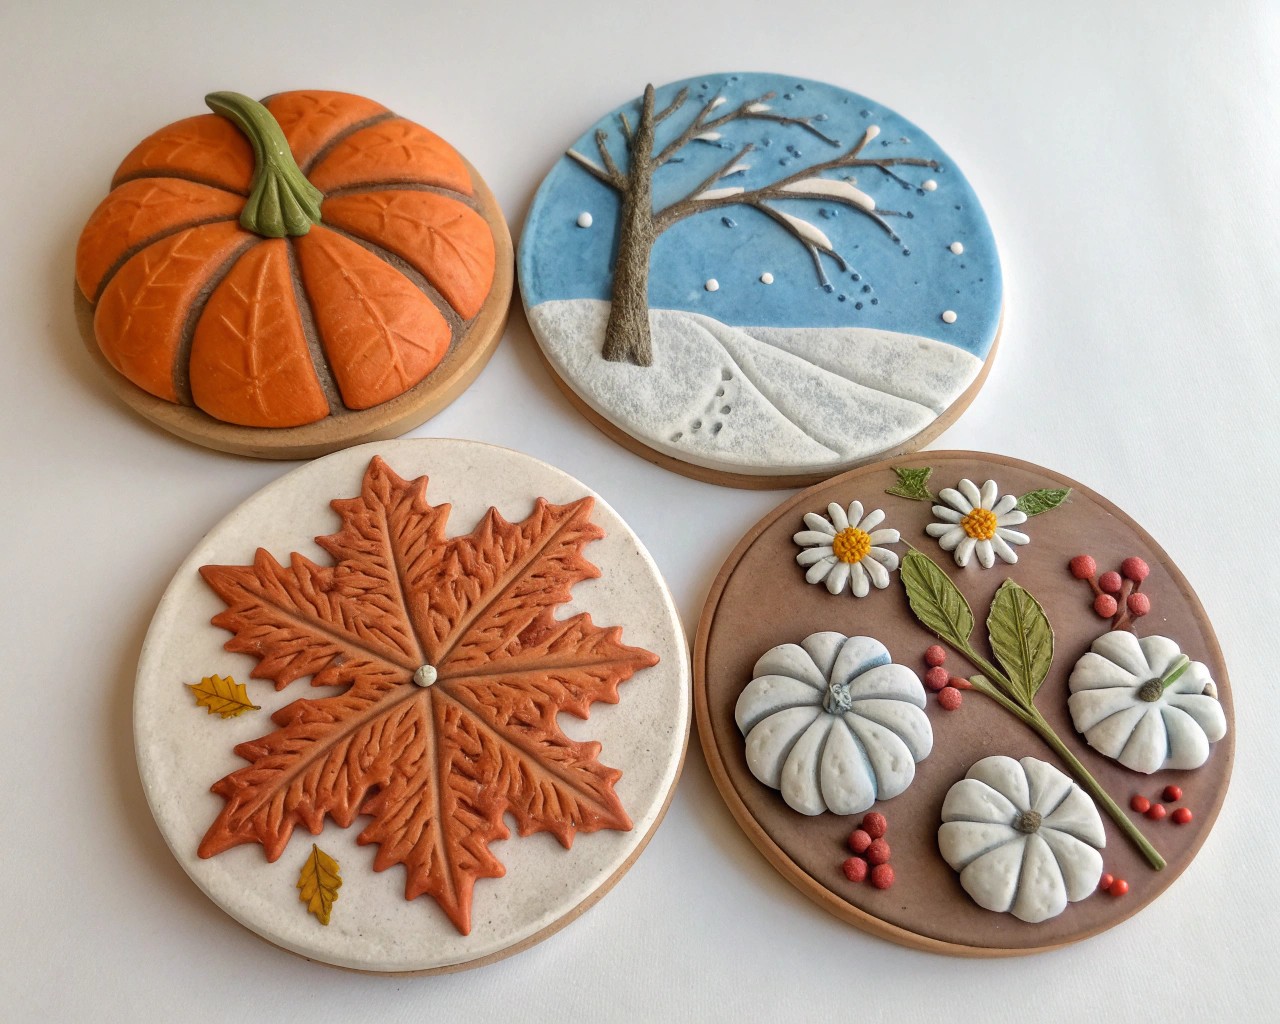
The artistic potential of clay garden markers extends far beyond simple plant identification. Consider incorporating sculptural elements that reflect your garden’s personality and your personal aesthetic preferences.
Botanical Integration creates seamless harmony between markers and plantings. Press fresh leaves, flowers, or seed pods directly into clay surfaces to capture intricate natural textures. Fern fronds produce particularly striking geometric patterns, while flower petals create delicate organic impressions. This technique works exceptionally well with air-dry clay, where the pressing process occurs during the malleable stage.
Miniature Sculptural Forms transform basic markers into three-dimensional art pieces. Shape clay into tiny mushrooms for woodland gardens, create miniature vegetables to mark corresponding crops, or sculpt abstract forms that complement modern landscape designs. These sculptural markers serve as conversation starters while maintaining their practical function.
Color and Pattern Applications elevate simple clay forms into sophisticated design elements. Layer different colored clays to create marbled effects, or apply earth-toned pigments that harmonize with natural garden colors. Geometric patterns stamped into clay surfaces add visual interest without overwhelming delicate plantings.
Seasonal Adaptability allows markers to evolve with changing garden conditions. Create interchangeable elements that reflect seasonal transitions, such as removable flower additions for spring installations or textured surfaces that capture frost patterns in winter gardens.
Essential Tools and Materials
Successful clay marker creation requires specific tools that ensure professional results while maintaining creative flexibility.
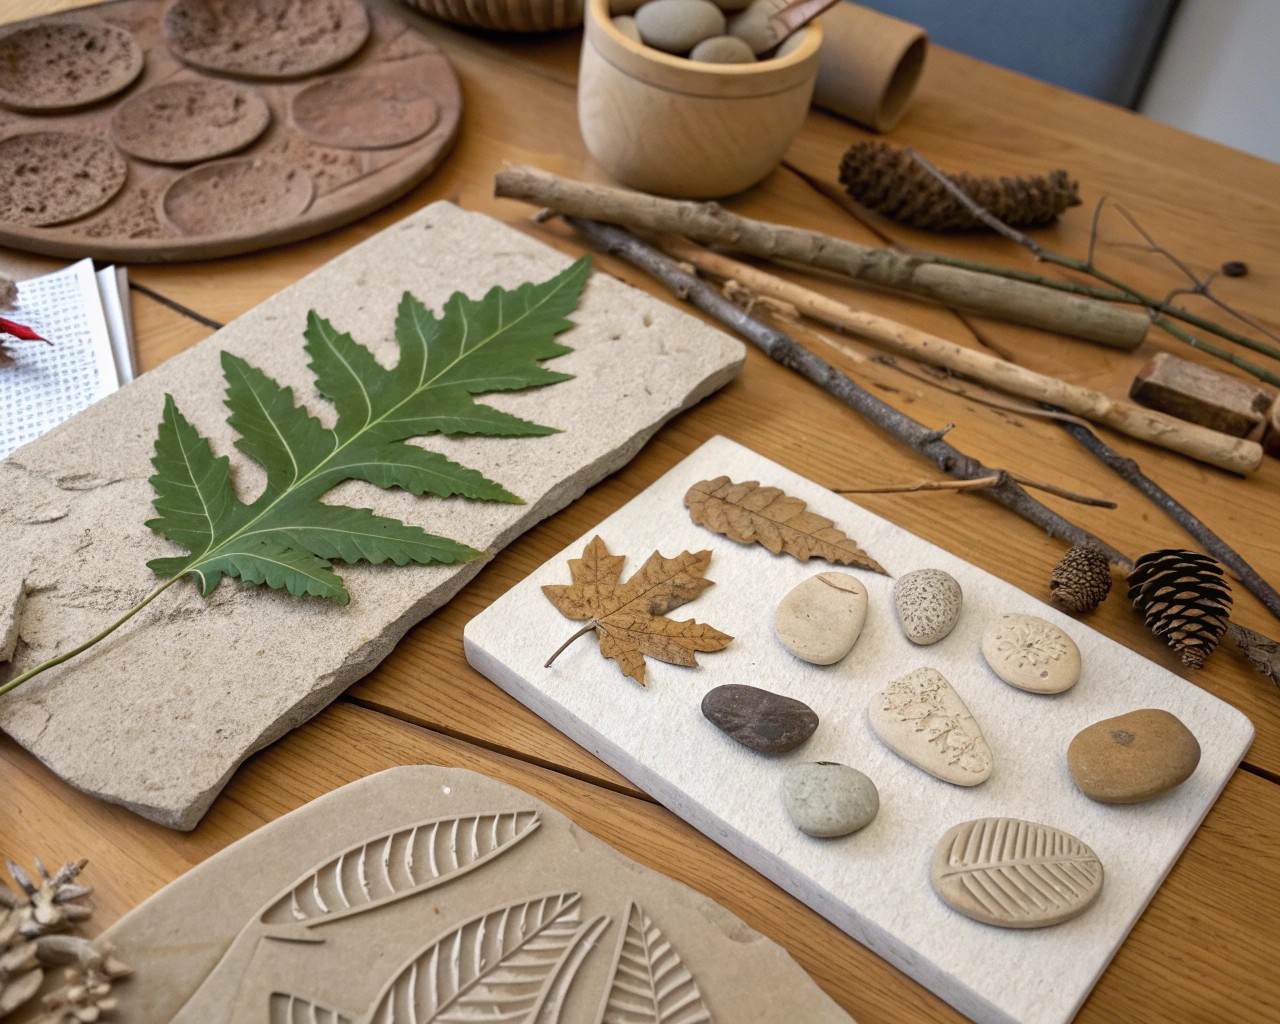
Clay Working Tools form the foundation of your toolkit. A quality rolling pin or pasta machine dedicated to clay use creates uniform thickness essential for consistent drying and firing. Sharp craft knives or clay cutting tools enable precise shaping, while various sculpting implements allow for detailed surface work.
Texturing Equipment expands creative possibilities exponentially. Letter stamps produce clear, professional plant identification, while texture rollers create repeating patterns across larger surfaces. Natural objects—bark, shells, fabric, or household items—serve as improvised texture tools, often producing the most unique and interesting results.
Baking and Finishing Supplies ensure professional durability. Dedicated baking surfaces prevent contamination while protecting household cookware. Quality brushes facilitate paint application, and appropriate sealers protect finished pieces from weather exposure.
Measurement and Layout Tools maintain consistency across marker sets. Simple rulers ensure uniform sizing, while templates cut from cardboard standardize complex shapes across multiple pieces.
Step-by-Step Creation Process
Preparing Your Clay
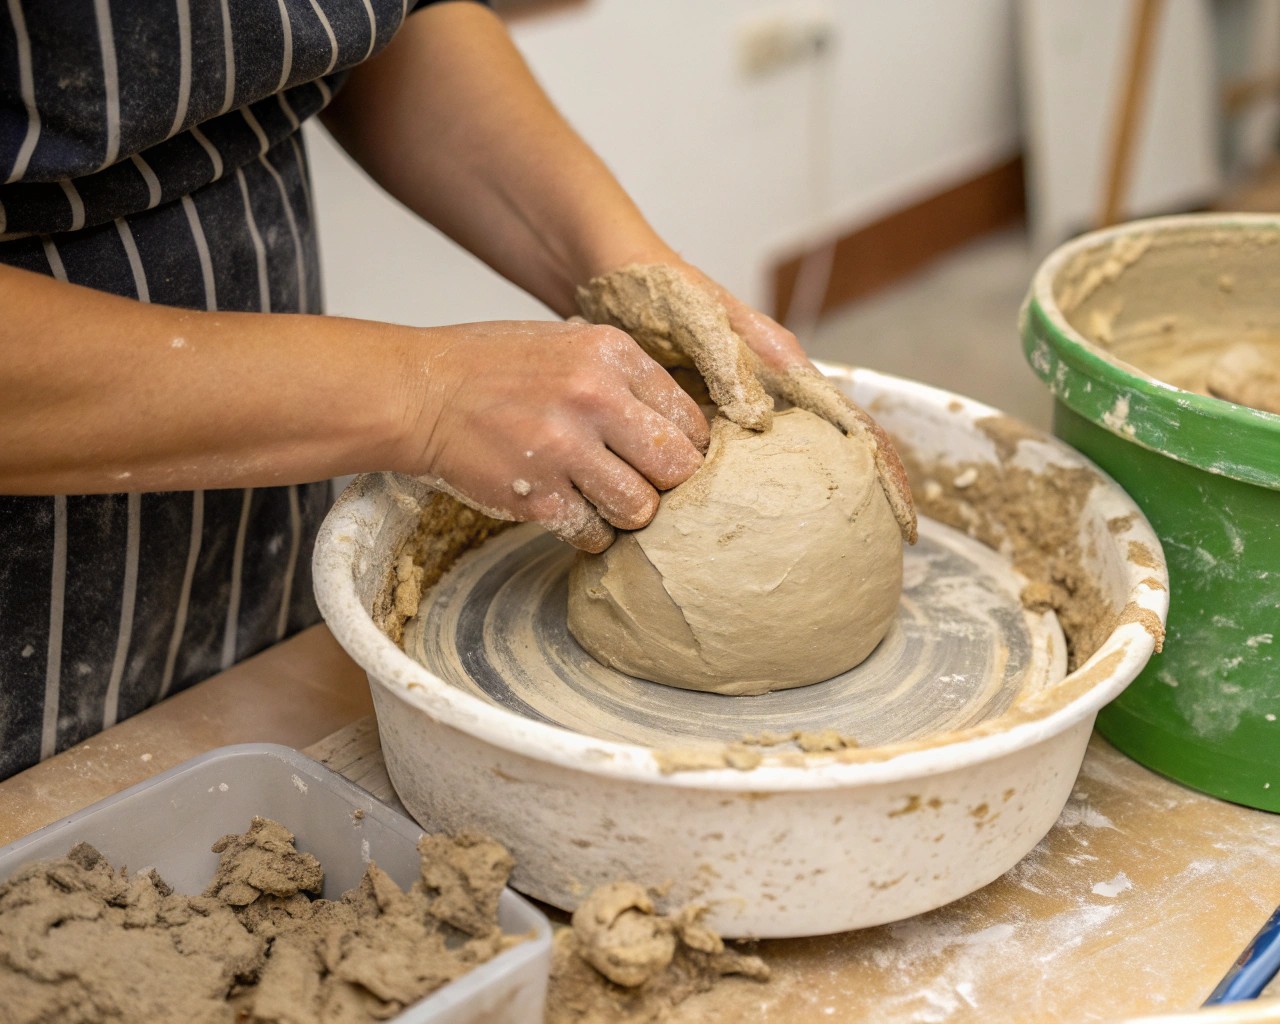
Begin by conditioning polymer clay through repeated rolling or kneading until it reaches uniform plasticity. This process, requiring 10-15 minutes of manipulation, ensures even heating during baking and prevents cracking. Air-dry clay requires minimal preparation—simply ensure the material remains properly hydrated throughout the working period.
Roll clay to consistent ¼-inch thickness using guide rails or pasta machine settings. This dimension provides sufficient structural integrity while allowing complete curing throughout the material thickness. Thicker sections risk incomplete firing, while thinner areas become fragile and prone to breakage.
Shaping Your Markers
Cut basic marker shapes using templates or freehand techniques. Classic rectangular forms measure approximately 3 inches long by 1 inch wide, providing adequate space for plant names while maintaining proportional elegance. Pointed bottoms facilitate soil insertion, while rounded tops prevent sharp edges that might damage plants or hands.
For sculptural variations, consider organic shapes that echo natural forms. Leaf-shaped markers complement herb gardens, while vegetable-inspired forms add whimsy to kitchen garden installations. Abstract geometric shapes suit contemporary landscape designs.
Adding Text and Decoration
Text application requires careful planning to ensure readability and durability. Letter stamps provide the most consistent results—begin stamping from the left edge of your marker, ensuring adequate space for complete words. Apply steady, even pressure without over-impressing, which can distort surrounding clay.
Decorative elements transform functional markers into artistic statements. Simple impressed dots create elegant borders, while flowing lines add organic movement. Consider incorporating symbols that relate to specific plants—a small sun for sun-loving species or water drops for moisture-preferring varieties.
Surface Texturing Techniques
Texture adds visual interest while serving practical purposes—roughened surfaces hide fingerprints and provide grip for handling. Create organic textures using natural materials pressed into clay surfaces. Fabric impressions produce sophisticated patterns, while household items offer unexpected design opportunities.Experiment with layered textures by combining multiple techniques on single pieces. Begin with broad texture applications, then add finer details using smaller tools. This approach creates depth and visual complexity without overwhelming the marker’s primary identification function.
Firing and Finishing
Polymer clay baking requires precise temperature control to achieve optimal results. Preheat your oven to the manufacturer’s specified temperature—typically 275°F for most brands—and maintain consistent heat throughout the firing cycle. Use an oven thermometer to verify accuracy, as temperature variations can cause brittleness or incomplete curing.
Place markers on parchment-lined baking sheets, ensuring adequate spacing for air circulation. Firing times vary based on clay thickness, generally requiring 15 minutes per ¼ inch of material thickness. Properly fired clay produces a slight “ping” when tapped, indicating complete polymerization.
Air-dry clay requires no firing but benefits from controlled drying conditions. Maintain consistent room temperature and moderate humidity levels to prevent cracking. Cover partially with plastic sheeting if drying occurs too rapidly, allowing gradual moisture evaporation over 24-48 hours.
Weather Protection and Durability
Properly prepared clay markers withstand harsh outdoor conditions for years with minimal maintenance. Polymer clay requires no additional protection when correctly fired, as the material becomes inherently waterproof and UV-resistant.
Air-dry clay benefits significantly from protective sealing. Apply polyurethane or acrylic sealers in thin, even coats, allowing complete drying between applications. Two to three coats provide optimal protection while maintaining natural clay appearance. Avoid thick sealer applications that can obscure surface textures or create glossy finishes inappropriate for natural garden settings.
Seasonal Maintenance extends marker longevity through simple care routines. Remove accumulated dirt and organic debris using soft brushes and mild soap solutions. Inspect mounting systems periodically, tightening or replacing stakes as needed. Store removable seasonal elements in protected locations during extreme weather periods.
Repair Techniques address inevitable wear and minor damage. Small chips in polymer clay can be filled with matching clay and re-fired, while air-dry clay accepts patches of fresh material sealed with appropriate finishes. Major damage usually requires complete replacement, making this an opportunity to update designs or incorporate new techniques.
Advanced Artistic Techniques
Multi-Element Compositions
Create complex marker systems through modular design approaches. Combine multiple small clay elements on single stakes to build layered compositions that change with viewing angle. This technique proves particularly effective for marking plant groupings or creating focal points within larger garden areas.
Integrated Lighting Elements
Incorporate subtle lighting features using battery-powered LED systems embedded within hollow clay forms. These illuminated markers provide nighttime garden navigation while creating magical ambiance during evening entertaining. Ensure waterproof LED selection and accessible battery replacement systems.
Interactive Elements
Design markers with moveable components that engage garden visitors. Rotating elements can display different information seasonally, while sliding pieces reveal planting dates or care instructions. These interactive features particularly appeal to educational garden installations or family-oriented growing spaces.
Color-Coded Systems
Develop sophisticated plant categorization through consistent color applications across marker sets. Use warm colors for sun-loving species, cool tones for shade plants, or create gradations indicating watering requirements. This visual system provides instant plant care information while maintaining aesthetic cohesion.
Troubleshooting Common Issues
Cracking During Drying typically results from uneven moisture loss in air-dry clay. Prevent this issue by maintaining consistent ambient humidity and covering works in progress with damp cloths during extended working periods. If cracks appear, fill with fresh clay slip and smooth carefully.
Incomplete Firing in polymer clay manifests as brittleness or white stress marks when bent. Ensure accurate oven temperature and adequate firing duration. Re-fire pieces showing incomplete curing, adding additional time rather than increasing temperature.
Text Legibility Problems often stem from insufficient stamping pressure or worn stamps. Test stamp clarity on practice pieces before applying to finished markers. Clean stamps between applications to prevent clay buildup that obscures fine details.
Color Bleeding occurs when incompatible materials interact during firing or sealing. Test all color combinations on sample pieces before committing to final designs. Allow painted elements to cure completely before applying sealers.
Stake Attachment Failures result from inadequate mechanical bonds between clay and mounting hardware. Embed stakes deeply into clay bodies and create mechanical locks through bent wire ends or textured surfaces that increase holding power.
These handcrafted markers represent more than simple plant identification—they embody personal creativity while serving essential garden organization functions. Through careful material selection, thoughtful design, and proper execution, your clay garden markers will provide years of functional beauty while expressing your unique artistic vision within the natural landscape.

