Transform your gratitude into personalized works of art with hand-painted thank you cards that rival gallery-quality miniatures. The intimate scale of a greeting card provides the perfect canvas for creating heartfelt, collectible pieces.
Why Paint Your Thank You Cards

Hand-painted cards offer something no store-bought option can: authenticity and intention. When you paint a card yourself, you’re creating a miniature artwork that recipients often frame and treasure long after the occasion has passed. The small format encourages simplicity and focus, making these cards surprisingly achievable even for beginner artists.
I’ve found that recipients appreciate the time and thought that goes into each brushstroke. The imperfections become part of the charm – a slightly uneven flower petal or a gentle color bleed adds character that mass-produced cards simply cannot replicate.
Essential Materials and Setup
Paint Selection

Watercolors excel for delicate, translucent effects and botanical subjects. They’re forgiving for beginners and create beautiful color bleeds that add spontaneous charm to your work.
Gouache provides opaque, rich coverage perfect for bold designs. Its matte finish creates a sophisticated, gallery-like appearance that photographs beautifully.
Acrylic paints offer durability and vibrant color saturation. When thinned properly, they can mimic both watercolor and gouache effects while maintaining archival quality.
Paper Considerations
Choose cardstock weight between 140-200 GSM for optimal paint handling. Lighter weights may buckle with water-based paints, while heavier stocks can feel too rigid for greeting cards.
Texture matters significantly – smooth surfaces work best for detailed miniature work, allowing precise brushstrokes without interference from paper grain. Cold-pressed watercolor paper provides enough tooth for paint adherence while maintaining smoothness.
Brush Selection
Invest in quality size 2-6 round brushes with fine points. Synthetic brushes work excellently for acrylics, while natural sable performs best with watercolors. Keep a liner brush (size 0 or 00) for fine details and text.
Design Principles for Miniature Art
Embrace Simplicity
Small-format paintings succeed through strategic omission rather than inclusion. Focus on one primary subject – a single flower, simple landscape, or abstract color study. Complex compositions become muddy at greeting card scale.
Color Harmony
Limit your palette to 3-4 colors maximum. This constraint creates cohesion and prevents visual chaos. Consider monochromatic schemes or complementary pairs for sophisticated results.
Compositional Balance
Leave generous white space to let your painted elements breathe. Resist the urge to fill every corner – negative space provides visual rest and emphasizes your focal point.
Step-by-Step: Botanical Thank You Card
Planning Phase
- Sketch lightly with 2H pencil, keeping lines minimal
- Map out color areas mentally before applying paint
- Consider text placement early in the design process
Painting Process

Base Layer Application
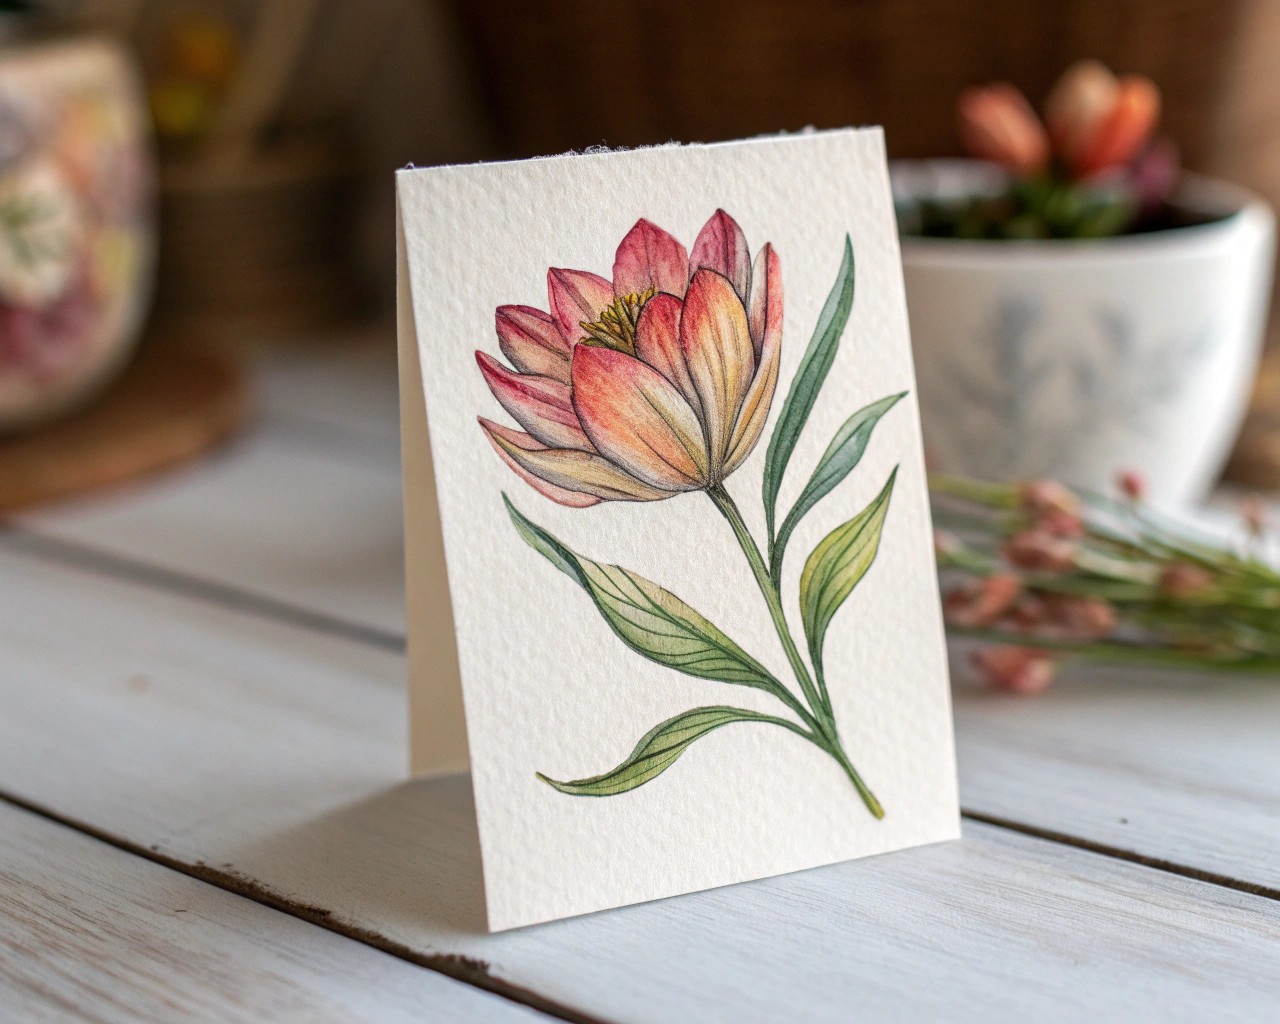
Start with your lightest colors, building up gradually. For florals, begin with pale washes for petals, allowing natural bleeding between colors.
Detail Development
Add darker values while previous layers are still damp for soft transitions. Use the liner brush for stem details and leaf veins.
Final Accents
Apply deepest shadows and brightest highlights last. A tiny dot of pure white can make a flower center sparkle.
Text Integration
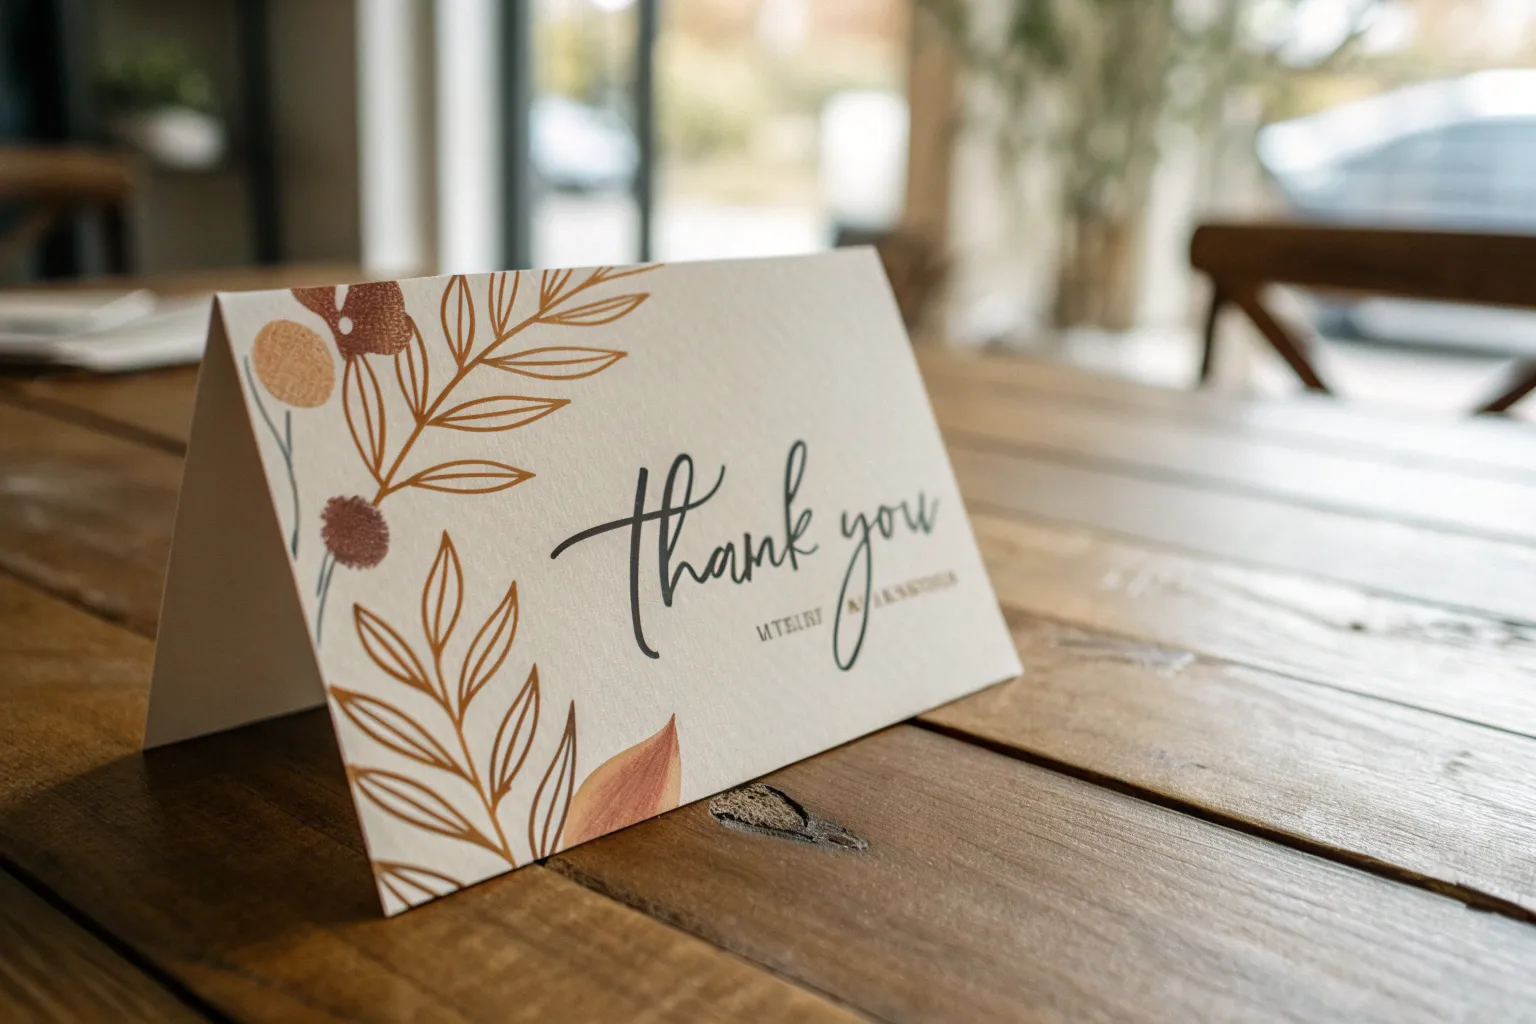
Hand-lettered text adds personal warmth. Practice your chosen phrase on scrap paper first. Consider the text as part of the overall composition, not an afterthought.
Advanced Techniques for Sophisticated Results
Wet-on-Wet Blending
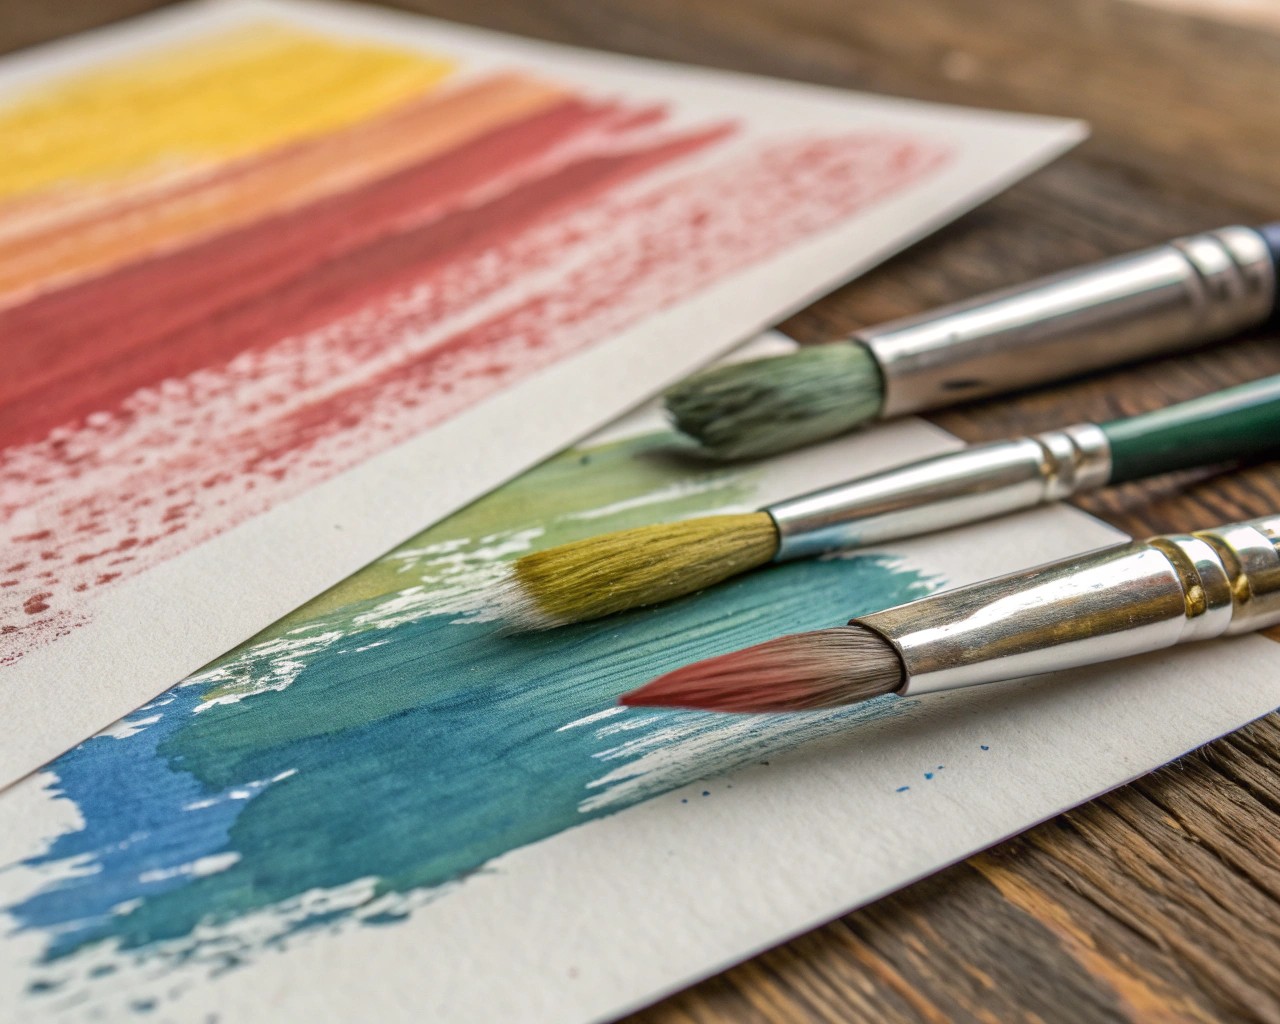
Apply clean water to your paper first, then drop in concentrated pigment. The paint will spread organically, creating cloud-like effects perfect for backgrounds or abstract elements.
Dry Brush Texture
Load your brush with paint, then remove excess moisture on paper towel. Light strokes across textured paper create interesting broken color effects ideal for foliage or atmospheric elements.
Layering for Depth
Build up transparent layers to create rich, complex colors. Each layer should be completely dry before applying the next – patience yields professional results.
Common Challenges and Solutions
Paint Bleeding
Problem: Colors spreading beyond intended areas
Solution: Use less water, ensure previous layers are completely dry, or embrace controlled bleeding as a design feature
Muddy Colors
Problem: Colors mixing into gray or brown
Solution: Let each color dry completely before adding adjacent colors, use fewer colors overall, or clean your brush thoroughly between applications
Warped Paper
Problem: Cardstock buckling from moisture
Solution: Use less water, tape edges down while working, or stretch paper beforehand for larger cards
Finishing and Presentation
Protective Measures
Allow cards to dry completely flat under light pressure to prevent warping. Consider a light spray fixative for pastels or charcoal elements.
Storage Solutions
Store finished cards flat in acid-free boxes with tissue paper between layers. This prevents smudging and maintains their pristine condition until gifting.
Envelope Coordination
Choose envelopes that complement but don’t compete with your artwork. Neutral colors in cream, kraft, or soft gray work universally well.
Creating a Cohesive Series
Maintain consistent elements across multiple cards – perhaps the same color palette, similar composition structure, or repeated motifs. This creates a signature style that recipients will recognize as uniquely yours.
Document your process with photos and notes. Successful color combinations and techniques can be refined and reused across different projects.
Consider seasonal themes to build inventory throughout the year. Spring botanicals, summer landscapes, autumn leaves, and winter abstracts provide year-round inspiration.
Your hand-painted thank you cards become miniature galleries of gratitude, each one a small treasure that carries far more meaning than any printed alternative. The time invested in creating these personal artworks reflects the value you place on your relationships – a sentiment that resonates long after the thank you is said.

