Creating an enchanting tablescape doesn’t require expensive fresh flowers or elaborate arrangements. With paper florals, natural linen, and thoughtful touches, you can craft a garland that transforms any ordinary surface into something truly magical.
The Art of Natural Texture Layering

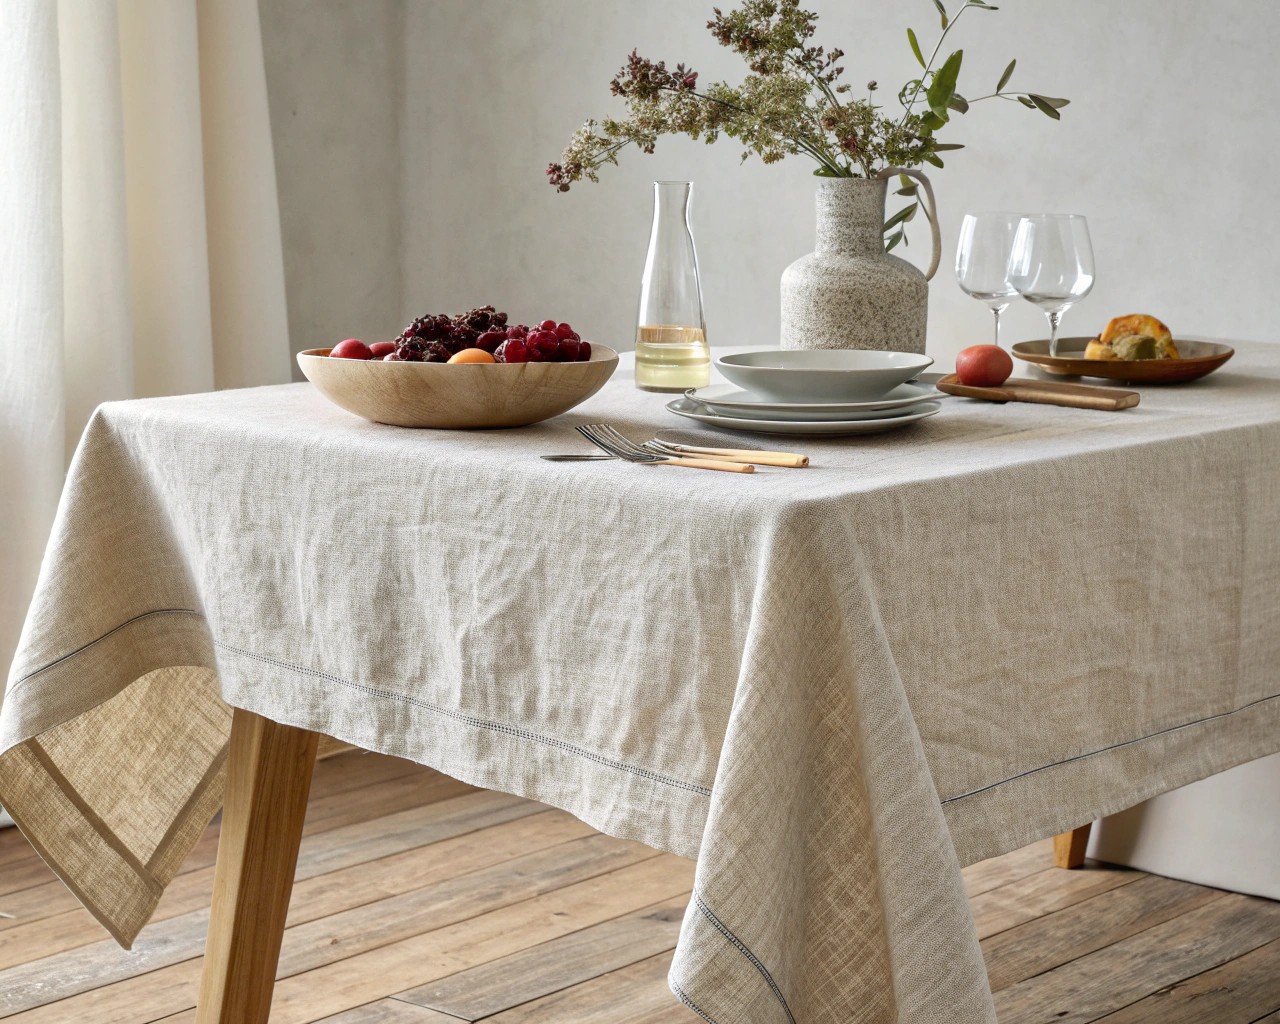
The foundation of any captivating table garland lies in understanding how textures interact. Linen provides the perfect base material due to its organic weave and natural drape. Unlike synthetic fabrics, linen’s inherent irregularities create visual interest and depth. The fabric’s loose weave allows light to filter through, creating subtle shadows that enhance the dimensional quality of your garland.
When selecting linen for your project, opt for medium-weight fabric with a visible weave pattern. The natural variations in thread thickness and occasional slubs add character that complements handmade paper florals beautifully.
Essential Materials and Tools
For the Paper Florals:

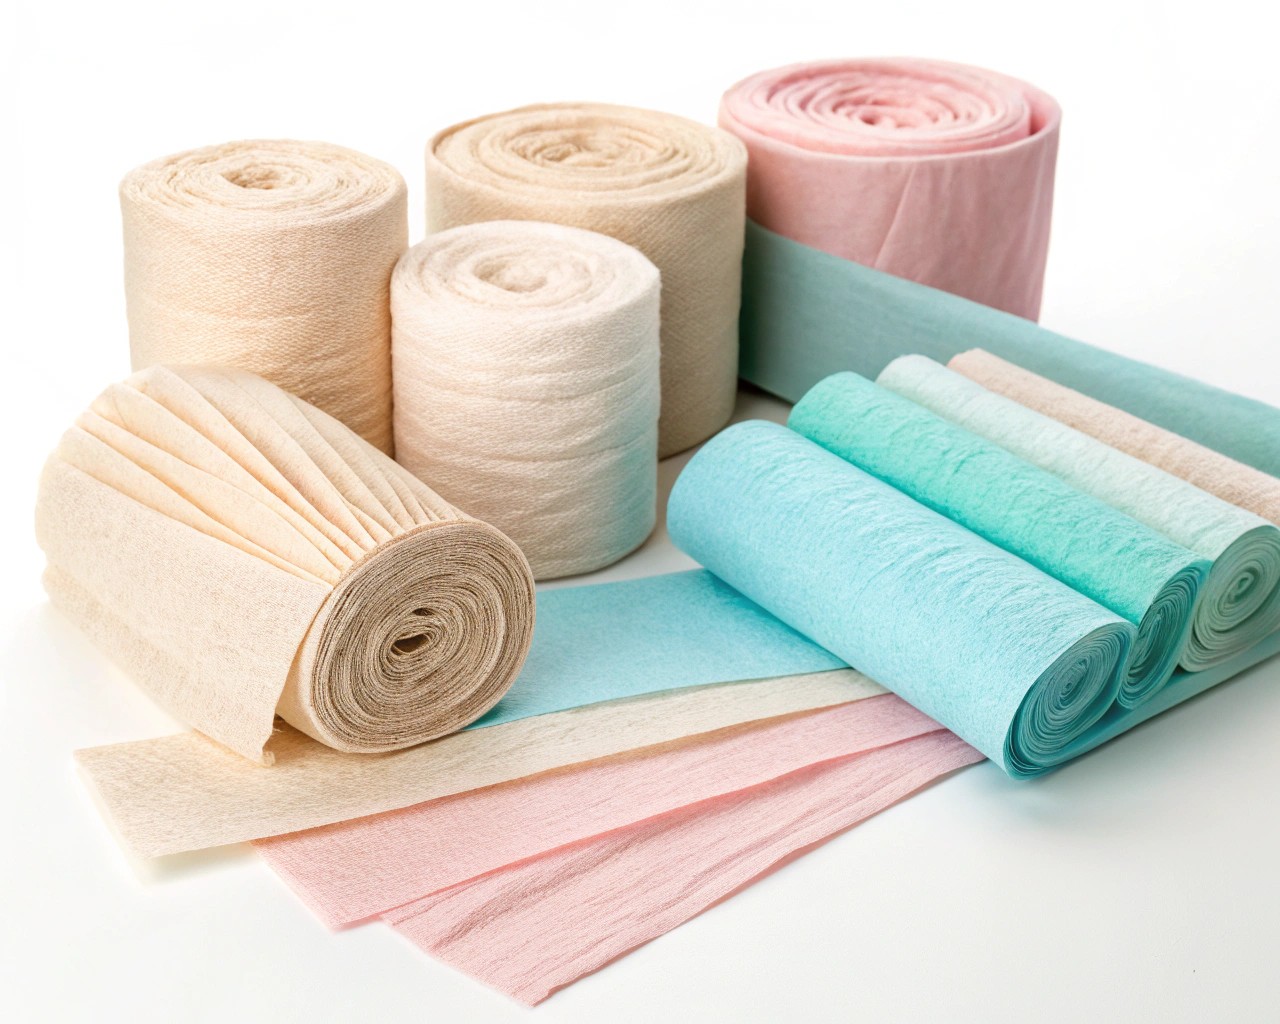
- Tissue paper in complementary shades (5-8 colors)
- Crepe paper for more structured flowers
- Cardstock for templates and flower centers
- Sharp fabric scissors
- Bone folder or similar scoring tool
- Low-temperature glue gun
- Floral wire (22-gauge works best)
For the Linen Component:
- Natural linen fabric (2-3 yards, depending on table length)
- Fabric scissors or rotary cutter
- Iron for crisp edges
- Measuring tape
Magical Finishing Touches:
- Battery-operated fairy lights
- Small glass votive holders
- Natural elements (dried berries, small pinecones)
- Thin copper or gold wire for securing
Creating Your Paper Florals
Basic Tissue Paper Flowers
The accordion-fold method produces the most natural-looking blooms. Start with six to eight sheets of tissue paper, each measuring 8 inches by 10 inches. Stack the sheets, alternating colors if desired, then fold the entire stack accordion-style with 1-inch pleats.
Secure the center with floral wire, leaving 3-inch tails for attachment. Round the ends with scissors for traditional petals, or create pointed ends for a more modern aesthetic. Gently separate each layer, pulling toward the center to create volume.
I’ve found that slightly dampening your fingertips helps prevent tearing when fluffing delicate tissue paper. Work slowly and deliberately – rushing this step often results in flat, unconvincing flowers.
Advanced Crepe Paper Techniques
For more structured elements, crepe paper offers superior durability and shape retention. Cut petal templates from cardstock first, then trace onto crepe paper. The grain direction matters significantly – stretch petals along the grain for natural curves.
Create realistic flower centers by cutting 2-inch strips of yellow or orange crepe paper, then fringing one edge finely. Roll tightly and secure with glue for authentic-looking stamens.
Designing Your Garland Structure
Planning the Flow
Before assembling, lay your linen flat and plan flower placement. Successful garlands follow the rule of odd numbers – group flowers in clusters of three or five for visual appeal. Vary the heights and sizes to create rhythm and movement.
Consider the viewing angles of your table. If guests will sit on both sides, ensure interesting elements are visible from multiple directions. For corner tables or buffets, create asymmetrical arrangements that draw the eye naturally.
Attachment Methods
The most secure method involves creating small fabric loops along the linen’s edge. Fold 1-inch sections of fabric and stitch in place, creating attachment points that won’t show from the front. Thread your completed flowers through these loops, adjusting spacing as needed.
For temporary installations, small safety pins hidden behind larger flower heads work effectively. This method allows for easy rearrangement and reuse of components.
Incorporating Magical Elements
Lighting Integration
Battery-operated fairy lights woven through your garland create enchanting ambiance. Choose warm white LEDs for a cozy feel, or soft amber for a more intimate atmosphere. The key is subtlety – lights should enhance, not dominate, your creation.
Thread lights before final flower attachment, securing the battery pack underneath the linen where it won’t be visible. Test the lighting in your intended setting, as dining room lighting affects the overall impact significantly.
Natural Accent Materials
Small natural elements add authenticity and depth to paper florals. Dried seed pods, small branches, or preserved leaves create interesting textural contrasts. Secure these elements with thin wire, wrapping connections behind larger flowers to maintain the illusion.
Seasonal additions keep your garland feeling fresh – winter pinecones, spring pussy willows, or autumn seed heads all complement the natural linen base beautifully.
Step-by-Step Assembly Guide
Phase 1: Preparation
- Cut linen to desired length plus 6 inches for finishing
- Press fabric and hem edges for a polished appearance
- Create 15-20 paper flowers in varying sizes
- Prepare all accent materials and lighting elements
Phase 2: Layout
- Arrange flowers along the linen without attaching
- Photograph the arrangement for reference
- Mark attachment points with removable fabric markers
- Thread fairy lights through planned pathways
Phase 3: Assembly
- Begin at one end, securing largest flowers first
- Work toward the center, adding medium-sized blooms
- Fill gaps with smaller flowers and natural elements
- Test lighting and adjust wire positioning as needed
Phase 4: Finishing
- Secure all loose wires and hide battery packs
- Add final accent pieces
- Steam or lightly mist for professional appearance
- Allow to settle for 30 minutes before final placement
Styling and Placement Strategies
Table Size Considerations
For standard dining tables (6-8 feet), create a single flowing garland that extends slightly beyond the table edges. Larger tables benefit from multiple interconnected sections that can be adjusted for different occasions.
Round tables require different approaches – either a dramatic center spiral or elegant edge treatment works well. Consider the table’s proportions when determining garland width and density.
Color Coordination
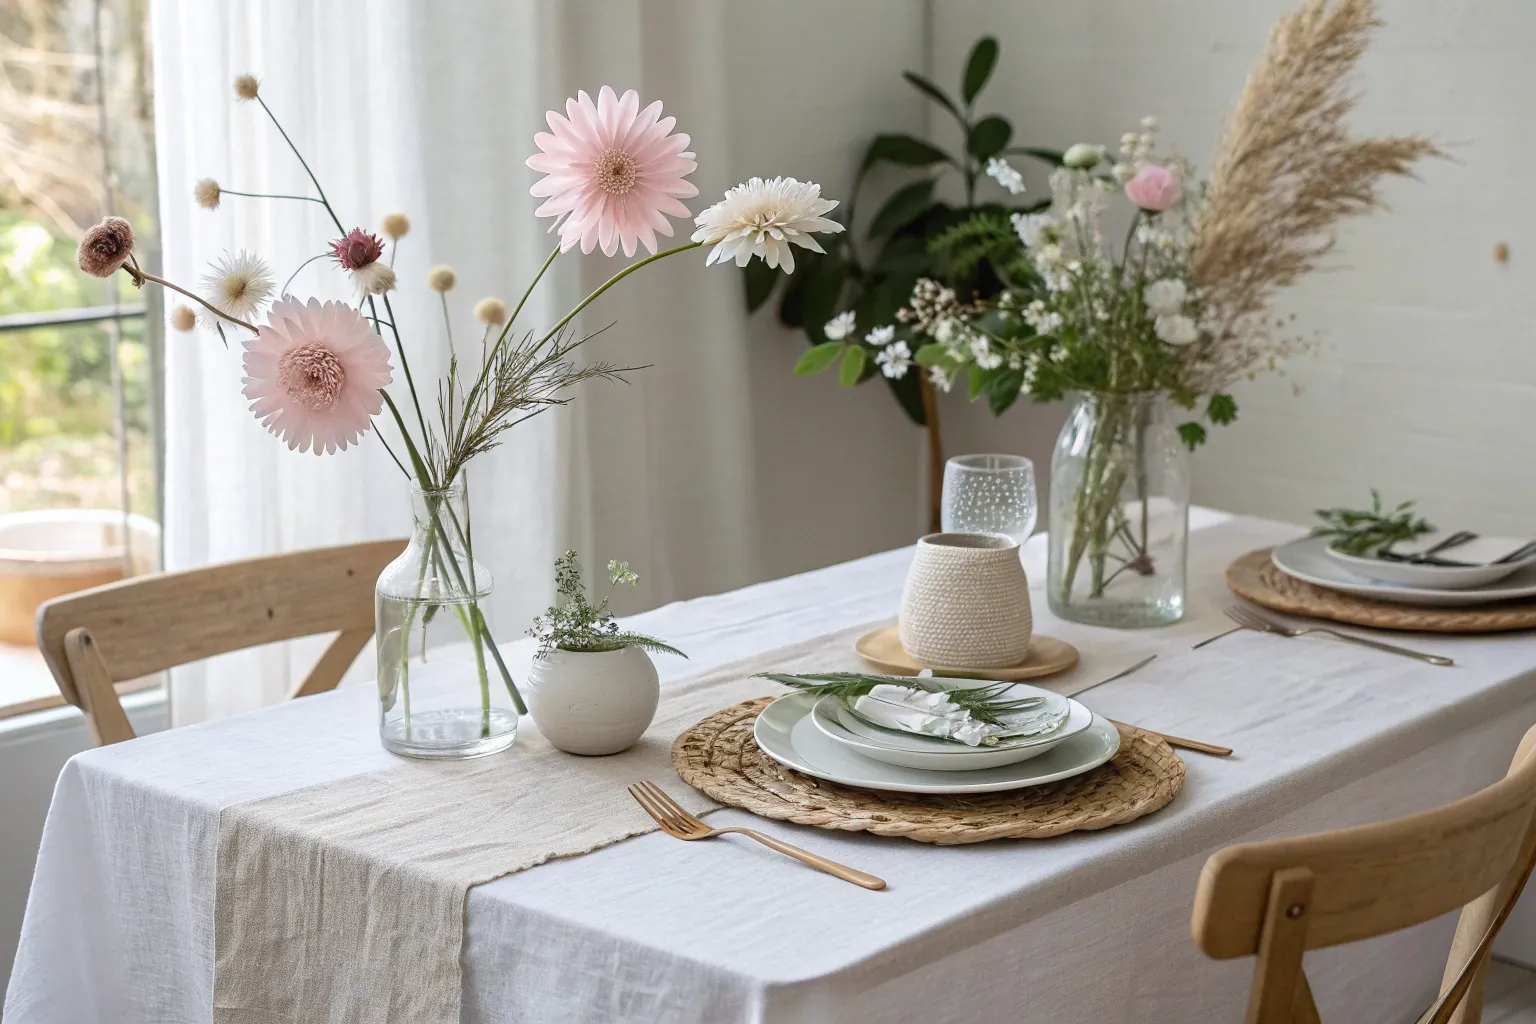
Successful color schemes often follow the 60-30-10 rule: 60% neutral tones (your linen base), 30% primary color (dominant flower shade), and 10% accent colors (lighting and natural elements). This creates visual balance without overwhelming the space.
Consider your existing décor when selecting paper colors. Warm neutrals complement traditional settings, while cooler tones suit contemporary spaces. Don’t forget that candlelight and evening lighting significantly affect color perception.
Seasonal Adaptations
Spring Inspiration
Light greens, soft yellows, and blush pinks capture spring’s gentle energy. Add tiny paper buds and leaves for a garden-fresh appearance. Incorporate real pussy willow branches for authentic texture.
Summer Variations
Bold, saturated colors reflect summer’s abundance. Consider adding metallic accents – gold or copper details catch sunlight beautifully during outdoor gatherings.
Autumn Transformations
Rich burgundies, burnt oranges, and deep golds create warmth as temperatures cool. Paper leaves in autumn shades, combined with real acorns or small gourds, enhance the seasonal connection.
Winter Elegance
Whites, silvers, and icy blues evoke winter’s serene beauty. Add subtle shimmer with metallic paper or delicate glass ornaments for sophisticated holiday appeal.
Maintenance and Storage
Paper florals require gentle handling but reward careful maintenance with longevity. Dust accumulation dulls colors over time – use a soft brush or hair dryer on cool setting for cleaning. Store flat in acid-free boxes with tissue paper between layers to prevent crushing.
Linen components benefit from proper pressing between uses. Natural wrinkles add character, but excessive creasing detracts from the overall appearance. Steam rather than iron directly on decorative elements to avoid damage.
Creative Variations and Extensions
Vertical Displays
Transform your table garland concept into wall installations or hanging decorations. The same techniques work beautifully for backdrop elements or room dividers.
Miniature Versions
Create smaller versions for individual place settings or gift presentations. These scaled-down garlands make memorable party favors or hostess gifts.
Mixed Media Integration
Combine paper florals with real greenery, fabric flowers, or preserved elements for unique hybrid arrangements. The key is maintaining visual coherence while introducing varied textures.
Your completed table garland represents more than simple decoration – it embodies the thoughtful investment of time and creativity that transforms ordinary gatherings into memorable experiences. The combination of natural linen’s organic texture, handcrafted paper florals, and carefully considered magical elements creates an atmosphere that encourages connection and celebration.
Through patient craftsmanship and attention to detail, you’ve created something uniquely yours, perfectly suited to your space and style. This garland will serve as a beautiful foundation for countless gatherings, each time adding its own quiet magic to the moments shared around your table.
( ( ( ( ( ( ( ( ( ( ( ( ( ( ( ( ( ( ( ( ( ( ( ( ( ( ( ( ( ( ( ( ( ( ( ( (

