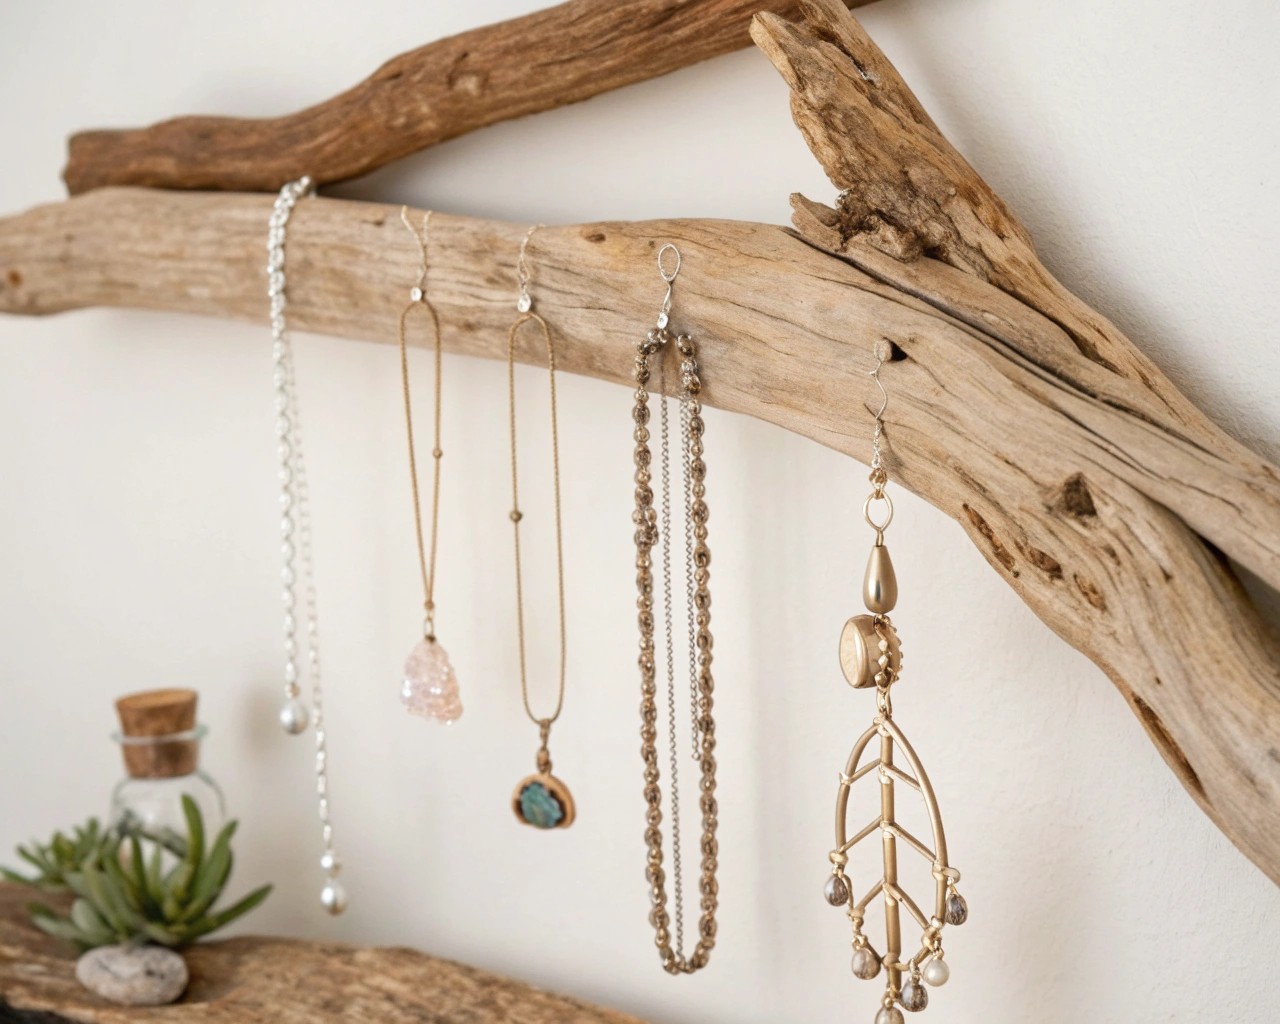
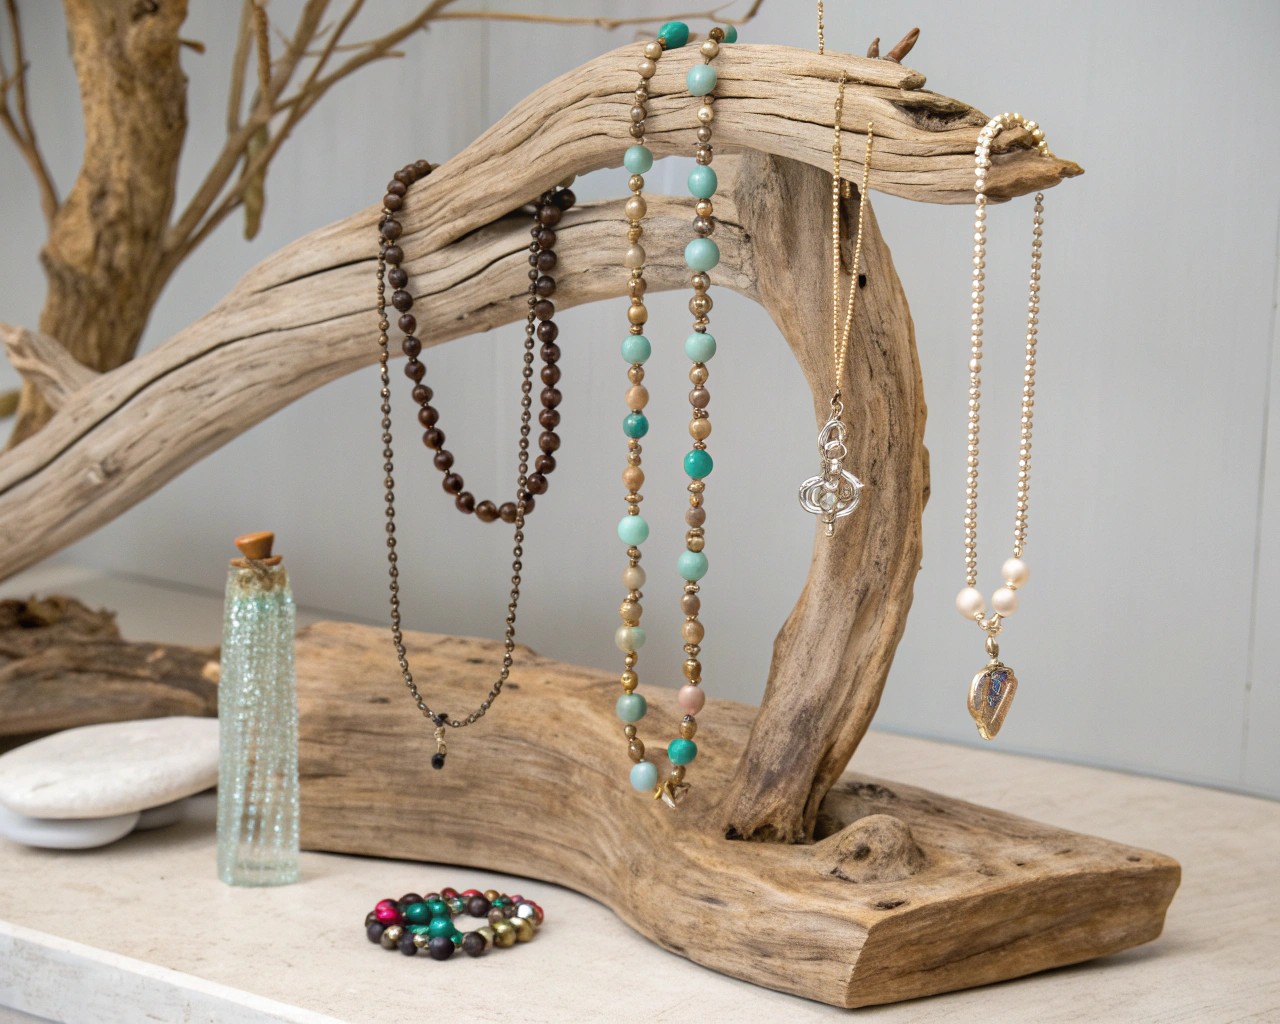
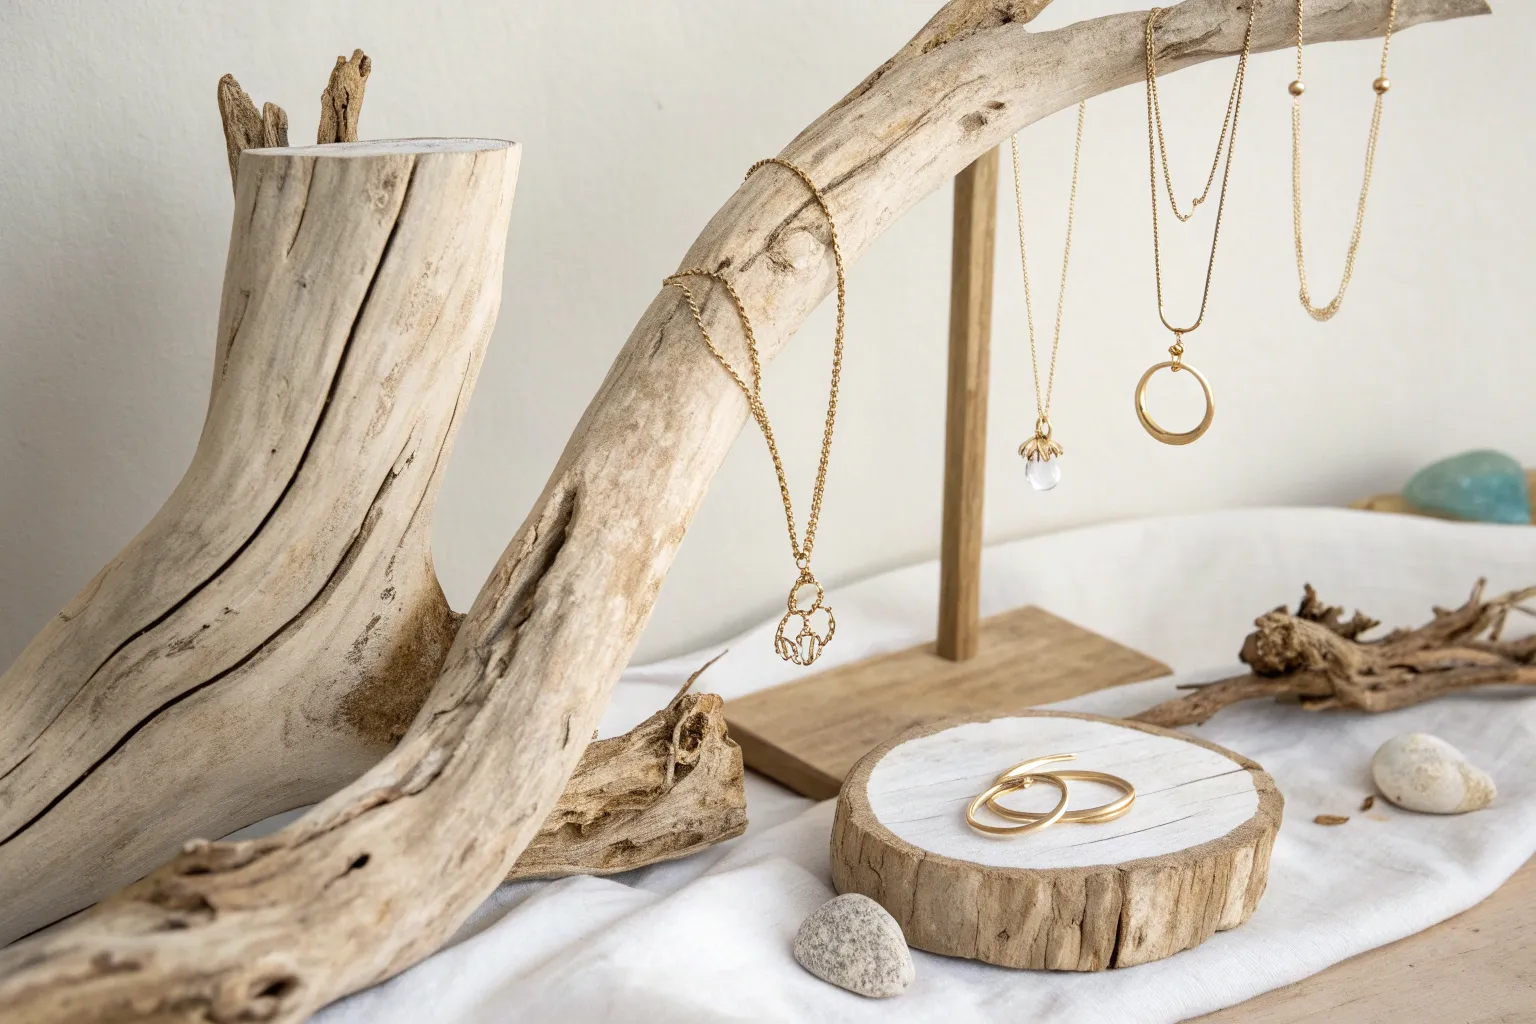
Transform your precious jewelry collection into stunning wall art while keeping everything organized and accessible with these beautiful driftwood display ideas. Natural materials offer endless creative possibilities that bring warmth and coastal charm to any space.
Why Choose Driftwood for Jewelry Display

Driftwood makes an exceptional foundation for jewelry organization because of its unique aesthetic properties and natural durability. Each piece tells its own story through weathered textures, organic curves, and distinctive grain patterns that no manufactured material can replicate. The natural hooks and grooves in weathered wood provide ideal mounting points for hardware, while the neutral tones complement any jewelry style from delicate gold pieces to bold statement necklaces.
The material’s inherent strength allows it to support multiple jewelry pieces without concern about breakage, and the organic shapes create visual interest that transforms functional storage into decorative art. Unlike traditional jewelry boxes that hide your collection away, driftwood displays showcase your pieces as part of your room’s decor.
Essential Materials and Tools
Basic Supply ListPrimary Materials
- Driftwood pieces (6-18 inches ideal length)
- Cup hooks or screw-in hooks (½ inch to 1 inch sizes)
- Natural rope, twine, or leather cord for hanging
- Wood glue for reinforcement
- Eye screws for wall mounting
Essential Tools
– Drill with various bit sizes (1/16″ to 3/8″)
– Measuring tape and pencil for marking
– Sandpaper (120-220 grit)
– Small brush for cleaning
– Safety glasses and dust mask
Optional Finishing Supplies
– Bleach solution for whitening
– Super washing soda for cleaning
– Clear protective spray or wax
– Acrylic paint for customization
Choose hooks based on your jewelry weight and style preferences. Smaller cup hooks work well for delicate chains, while larger eye hooks accommodate chunky statement pieces. The hook spacing should match your longest necklaces to prevent tangling.
Preparing Your Driftwood
Sourcing Quality Pieces
Finding the right driftwood requires knowing what characteristics make pieces suitable for jewelry display. Look for wood that feels solid when pressure is applied – pieces that bend or feel spongy indicate internal deterioration. The ideal driftwood should have most bark removed naturally, smooth surfaces from water weathering, and no visible signs of insect damage or mold growth.
Coastal areas after storms provide excellent collecting opportunities, though river banks and lakeshores also yield quality pieces. If collecting isn’t possible, craft stores and online retailers offer pre-selected driftwood suitable for projects.
Cleaning and Preparation Process

Step 1: Initial Cleaning
Remove all debris using a small brush, working dirt and sand from crevices and natural grooves. For larger pieces, compressed air effectively clears embedded particles from hard-to-reach areas.
Step 2: Deep Cleaning
Create a soaking solution using super washing soda (1 cup per gallon of water) and submerge the driftwood for 12-24 hours. This process removes tannins that cause discoloration and eliminates any remaining organic matter. The soaking water should turn reddish as tannins leach out.
Step 3: Disinfection
Mix a bleach solution (1-2 cups per gallon of water) and soak the wood for another 12-24 hours. This step kills bacteria, fungi, and any microscopic organisms while further lightening the wood’s color.
Step 4: Final Drying
Rinse thoroughly with fresh water and place in direct sunlight for 24-48 hours. Sun exposure naturally bleaches the wood and ensures complete moisture removal.
Surface Preparation
Sand any rough spots using 120-grit sandpaper, progressing to 220-grit for smoother finishes. Focus on areas where jewelry will make contact to prevent snagging delicate chains or fabrics. Light sanding also opens the wood grain for better finish absorption if you plan to apply protective coatings.## Design Ideas and Inspiration
Wall-Mounted Linear Displays

The simplest and most popular design involves mounting a single driftwood piece horizontally with evenly spaced hooks. This classic approach works particularly well for necklace storage, allowing pieces to hang freely without tangling.
Mark hook placement every 1.5 to 2 inches along the wood’s front face, adjusting spacing based on your jewelry collection’s needs. Drill pilot holes slightly smaller than your hook diameter to ensure tight fits that won’t loosen over time.
Tiered Multi-Level Systems

Create dramatic jewelry galleries by combining multiple driftwood pieces at different heights. Three-tier systems work especially well, with the top level for shorter pieces like bracelets, middle tier for medium necklaces, and bottom level for longer statement pieces.
Connect levels using wooden dowels, rope, or chain linkages that maintain proper spacing while adding visual interest. The tiered approach maximizes display capacity while creating an artistic installation that becomes a room’s focal point.
Freestanding Tree Displays
Transform branched driftwood pieces into jewelry trees by mounting them in weighted bases. Fill decorative pots or containers with sand, decorative stones, or plaster to create stable foundations.This approach works particularly well for pieces with multiple natural branches that can hold various jewelry types simultaneously.
The freestanding design offers flexibility for seasonal repositioning and works beautifully as dresser or vanity displays where wall mounting isn’t practical.
Step-by-Step Construction Guide
Project 1: Basic Wall-Mounted Display
Materials Needed:
- 12-inch driftwood piece
- 5 gold cup hooks (½ inch)
- 30 inches leather cord or rope
- 2 eye screws
- Wood glue
Construction Steps:
-
Planning the Layout
Measure your driftwood length and mark hook positions. Start 2 inches from each end, then space remaining hooks evenly between these points. For a 12-inch piece, five hooks spaced 2 inches apart create optimal necklace storage. -
Drilling Pilot Holes
Use a 1/16-inch drill bit to create pilot holes at each marked position. Drill straight into the wood to ensure hooks sit perpendicular to the surface. The pilot hole prevents wood splitting while providing guidance for hook installation. -
Installing Hardware
Apply a small amount of wood glue to each hook’s threaded end before screwing into pilot holes. Hand-tighten until the hook’s base contacts the wood surface. The glue provides additional security for heavy jewelry loads. -
Adding Hanging System
Install eye screws 1 inch from each end on the back edge. Thread leather cord through both eyes, adjusting length for desired hanging height. Tie secure knots and trim excess cord. -
Mounting and Testing
Hang your display and test with actual jewelry pieces to ensure proper spacing and weight distribution. Make adjustments before final installation.
Project 2: Three-Tier Cascading DisplayMaterials Needed:
- 3 driftwood pieces (varying lengths: 8″, 10″, 12″)
- 15 cup hooks total
- Chain or strong cord for connections
- Wall mounting hardware
Assembly Process:
-
Preparing Individual Pieces
Follow the cleaning and preparation steps for all three pieces. Install 4 hooks on the shortest piece, 5 on the medium, and 6 on the longest. -
Creating Tier Connections
Connect pieces using 6-inch chain segments or rope, ensuring 4-5 inches of vertical spacing between tiers. This prevents jewelry from tangling between levels while maintaining visual flow. -
Final Installation
Mount the top piece securely to wall studs, allowing lower tiers to cascade naturally. Test the entire system’s stability before loading with jewelry.## Creative Customization Techniques
Color and Finish Options
Natural Weathered Look
Preserve driftwood’s authentic appearance by applying only clear protective finishes. Marine-grade polyurethane provides moisture protection while maintaining the wood’s natural color and texture.
Whitewashed Coastal Style
Create the classic bleached driftwood appearance using diluted white paint. Mix 1 part white acrylic paint with 4 parts water, brush onto the wood, then immediately wipe with a cloth to achieve subtle color variation that follows the grain pattern.
Painted Accent Designs
Add visual interest with painted stripes, geometric patterns, or bohemian designs. Use painter’s tape to create clean lines, then apply acrylic paints in coordinating colors. Metallic gold or silver accents complement most jewelry collections beautifully.
Hardware Variations
Mixed Hook Styles
Combine different hook types for varied functionality. Use cup hooks for necklaces, small eye screws for earrings, and larger hooks for bracelets and watches.
Decorative Elements
Replace standard hooks with vintage glass knobs, antique drawer pulls, or handcrafted ceramic hooks for unique character. These elements transform functional displays into art pieces that reflect personal style.
Multi-Functional Features
Incorporate small mirrors, LED strip lighting, or fold-out trays for rings and earrings. These additions enhance the display’s utility while maintaining its natural aesthetic.## Advanced Design Concepts
Gallery Wall Arrangements
Create stunning jewelry galleries by arranging multiple driftwood displays in artistic compositions. Vary piece lengths, hanging heights, and orientations to develop visual rhythm across wall space. Consider the jewelry’s colors and styles when planning arrangements – group similar tones or create deliberate contrasts for maximum impact.
Install pieces at different depths from the wall using varying cord lengths or mounting brackets. This layered approach adds dimensional interest while accommodating different jewelry lengths and styles.
Integrated Storage Solutions
Combine driftwood displays with complementary storage elements like floating shelves for rings, small drawers for earrings, or fabric-lined trays for delicate pieces. The natural wood coordinates beautifully with various materials while maintaining cohesive design aesthetics.
Consider adding small LED spotlights to highlight special pieces or create dramatic evening ambiance. Battery-operated strip lights easily integrate into driftwood displays without complex wiring requirements.
Seasonal Adaptability
Design displays that accommodate seasonal jewelry rotations or special collections. Removable hook systems allow easy reconfiguration, while modular designs enable adding or removing sections based on changing needs.
Plan for growth by creating expandable systems that can accommodate new jewelry acquisitions without requiring complete reconstruction.
Maintenance and Care
Regular Cleaning
Dust displays weekly using microfiber cloths or soft brushes to prevent buildup that can transfer to jewelry. Pay special attention to hook areas where oils from handling may accumulate.
Monthly deep cleaning with slightly damp cloths removes stubborn residue while maintaining the wood’s natural finish. Avoid excessive moisture that could cause warping or encourage mold growth.
Protective Treatments
Reapply protective finishes annually in high-humidity environments or bi-annually in standard conditions. This maintenance preserves the wood’s integrity while protecting displayed jewelry from potential tannin staining.
Monitor for signs of pest activity, particularly in areas with high wood moisture content. Early detection prevents damage to both displays and jewelry collections.
Jewelry Care Considerations
Rotate displayed pieces regularly to prevent prolonged UV exposure that can fade certain materials. Store particularly valuable or delicate items in protective boxes when not wearing them regularly.
Consider the environmental conditions where displays are mounted. Bathroom humidity or direct sunlight exposure may require additional protective measures or alternative mounting locations.
Troubleshooting Common Issues
Structural Problems
Loose Hooks: Tighten by hand or use pliers carefully to avoid over-torquing. If hooks continue loosening, remove, add thread-locking compound, and reinstall.
Splitting Wood: Occurs when pilot holes are too small or wood is particularly dry. Drill slightly larger pilot holes and apply wood glue to cracks. Clamp until dried for permanent repairs.
Sagging Displays: Usually indicates inadequate wall mounting or overloading. Relocate to wall studs using appropriate anchors for your wall type and jewelry weight.
Aesthetic Challenges
Uneven Appearance: Natural driftwood irregularities sometimes create visual imbalance. Adjust hanging cord lengths or add small weights to level pieces properly.
Color Inconsistencies: Different driftwood pieces may weather differently. Light sanding followed by consistent finishing treatments helps achieve uniform appearance across multiple pieces.
Hook Visibility: If hooks appear too prominent, consider painting them to match the wood or choosing smaller, less obtrusive styles that blend better with the natural material.
Safety and Best Practices
Installation Safety
Always locate wall studs for mounting displays holding multiple jewelry pieces. Drywall anchors alone cannot support the combined weight of wood and jewelry over time. Use appropriate screws – at least 2.5 inches into studs for secure mounting.
Position displays at comfortable heights for daily use, typically 54-60 inches from floor to center of display. This range accommodates most users while preventing accidental contact during normal room activities.
Jewelry Protection
Ensure all wood surfaces that contact jewelry are smooth and properly finished. Rough areas can scratch delicate metals or snag fabric elements on vintage pieces.
Consider climate control in display areas. Excessive humidity can cause wood movement that may stress mounting hardware, while very dry conditions might cause wood cracking.
Child and Pet Safety
Install displays beyond reach of small children who might pull on hanging jewelry or attempt to climb display pieces. Ensure all hardware is securely fastened to prevent accidental dismantling.
Consider pet behaviors when positioning displays. Cats particularly may be attracted to dangling jewelry, potentially causing damage to both displays and valuable pieces.
Beyond Basic Displays
Professional Applications
These techniques scale beautifully for retail environments, craft fair displays, or small business applications. Larger installations benefit from professional-grade hardware and more robust mounting systems, but the basic principles remain identical.
Consider modular designs that break down for transport while maintaining professional appearance during setup. This flexibility proves invaluable for vendors who travel to different venues regularly.
Gift and Teaching Opportunities
Driftwood jewelry displays make meaningful handmade gifts that combine functionality with personal touch. The relatively simple construction makes them excellent projects for teaching basic woodworking skills to family members or crafting groups.
Document your builds with photos to create instruction guides for others or to remember successful techniques for future projects. This documentation proves particularly valuable when replicating successful designs or troubleshooting issues.
Creating beautiful driftwood jewelry displays transforms necessary organization into artistic expression while celebrating natural materials’ inherent beauty. These projects offer satisfaction that comes from creating functional art using materials that might otherwise go unused, proving that the most beautiful solutions often come from the simplest approaches.

